
Crafting your own beauty products offers a unique level of control over what touches your skin, and learning how to make your own mascara is a rewarding project for those seeking to avoid synthetic additives. By utilizing simple, natural ingredients, you can create a cosmetic product that is free from parabens, phthalates, and harsh chemical preservatives.
Whether you are driven by a desire for a minimalist beauty routine or you simply want to experiment with DIY chemistry, the process is surprisingly straightforward and requires only a few pantry staples. This guide walks you through the essential components, the science of blending, and the safety protocols necessary to ensure your homemade formula performs well while keeping your eyes healthy.
The Science and Safety of Homemade Mascara
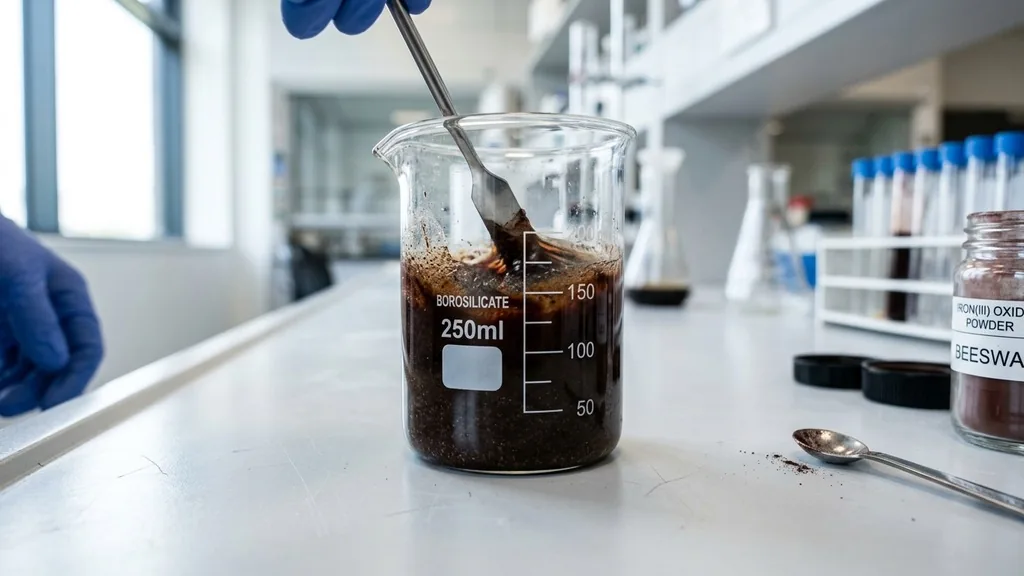
When you decide to make your own mascara, you are essentially creating an emulsion or a suspension of pigments in a base that can adhere to your lashes. Unlike mass-produced cosmetics that rely on complex polymers for water resistance and long-term stability, DIY mascara focuses on natural waxes, oils, and earth-based minerals.
Before you begin mixing, it is vital to understand that the eye area is extremely sensitive. Bacteria can thrive in moisture-rich environments, and because homemade versions often lack heavy-duty, lab-tested preservatives, they have a significantly shorter shelf life than retail products.
The primary goal of a DIY mascara recipe is to balance texture, adherence, and pigmentation. You need a binder, which is usually a wax like beeswax or a vegan alternative like candelilla wax, to provide the structure. You need a carrier oil to keep the formula from becoming too brittle, and you need a high-quality pigment to provide that deep, dark finish.
Always sanitize your workspace, utensils, and storage containers with high-grade isopropyl alcohol before starting. This simple step significantly reduces the risk of introducing contaminants into your final product. Remember that your eyes are prone to infections, so never use ingredients that have expired or that you suspect might be contaminated.
Essential Ingredients for Your DIY Mascara
To achieve the best results, selecting the right ingredients is paramount. Most successful recipes rely on a combination of three distinct components: a wax base, an oil for viscosity, and a colorant. If you want a natural mascara that mimics the look of store-bought versions, you need to choose your components carefully.
- Beeswax or Candelilla Wax: This acts as the structural foundation, allowing the mascara to coat the lashes and hold a curl.
- Carrier Oils: Ingredients like sweet almond oil, castor oil, or jojoba oil provide the necessary slip and help condition the lashes during wear.
- Pigments: Activated charcoal and cocoa powder are common choices for black and brown shades, respectively, as they are generally considered safe for external use.
- Clay: Bentonite or kaolin clay can be added to improve the thickness and help the formula grip onto the lash hair more effectively.
When choosing your oils, consider their weight. Castor oil is a favorite in the beauty industry because it is viscous and has a reputation for supporting hair health, but it can be heavy. Mixing it with a lighter oil like fractionated coconut oil or jojoba oil often yields a more balanced consistency that doesn’t feel overly sticky or heavy on the eyelids throughout the day.
Step-by-Step Formulation Process
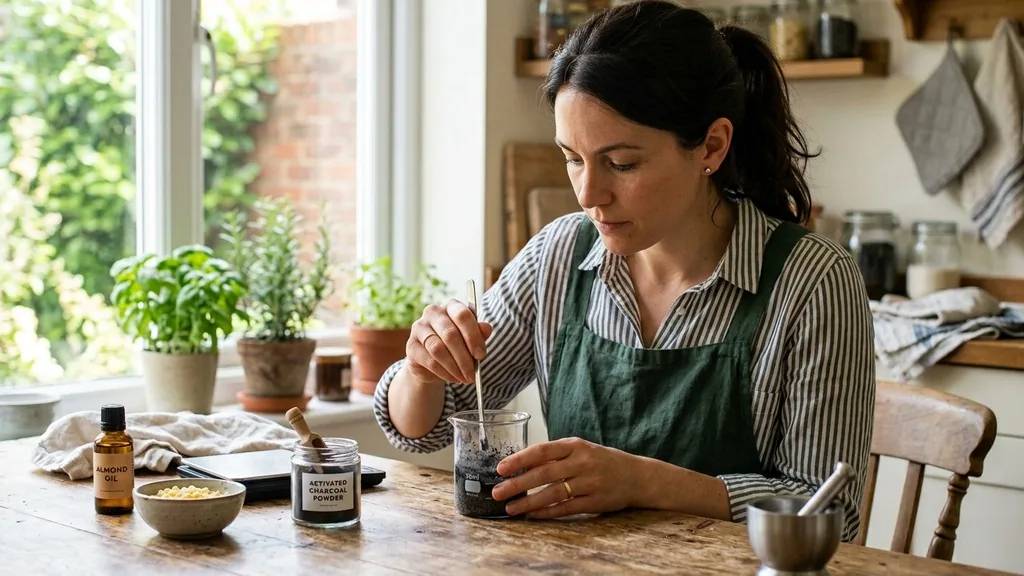
The actual process of combining your ingredients requires precision. Start by measuring out approximately one teaspoon of your chosen wax. Place this in a small, heat-safe glass container—a double boiler method is the safest way to melt the wax without burning it.
As the wax begins to liquefy, stir in your carrier oils. Once the mixture is uniform, remove it from the heat. This is the moment to incorporate your pigments.
If you are aiming for a deep black, activated charcoal is the industry standard for DIY enthusiasts. However, be cautious when adding the powder; a little goes a long way. Gradually add the powder in small increments, stirring continuously to ensure there are no clumps.
If the mixture is too thin, add a pinch more clay or wax. If it is too thick, add a drop or two of oil.
Once you have reached the desired consistency, you must transfer it to a clean container before it sets. Using a small funnel or a piping bag can make transferring the warm mixture into a mascara tube much easier.
Comparing Common Mascara Ingredients
Understanding the function of each ingredient helps you troubleshoot your recipe if it isn’t performing as expected. The following table highlights the roles of common components used when you make your own mascara.
| Ingredient | Function | Key Benefit |
|---|---|---|
| Beeswax | Structural Binder | Provides water resistance and holds curl |
| Castor Oil | Emollient | Thickens the formula and conditions lashes |
| Activated Charcoal | Pigment | Provides intense, deep black color |
| Bentonite Clay | Thickener | Helps the mascara adhere to fine hairs |
| Vitamin E Oil | Antioxidant | Extends the shelf life of the natural oils |
Addressing Topical Gaps: Troubleshooting Common Issues
Many people who attempt to make their own mascara encounter issues with flaking or smudging. Flaking usually indicates that the wax-to-oil ratio is off; if there is too much wax or clay, the formula becomes brittle once it dries on the lashes. If you find that your mascara is flaking, try increasing the amount of oil by a few drops.
Conversely, if the mascara is smudging or running, it likely has too much oil and not enough structural binder. Increasing the wax content or adding a bit more clay can help it set more firmly.
Another common gap in DIY information is how to deal with the “clumping” effect. Mass-produced mascaras contain specialized surfactants that keep pigments evenly dispersed. In a homemade version, pigments may settle over time.
To combat this, ensure you are using a very fine, food-grade or cosmetic-grade powder. If you are using charcoal, ensure it is finely milled. If your mixture feels gritty, it is likely the pigment particles are too large.
You can also try adding a tiny drop of lecithin, which acts as a natural emulsifier to help keep the oil and pigment bonded together. Always test a small amount on your hand first to check for irritation or allergic reactions before applying it to your lash line.
Storage, Hygiene, and Shelf Life
Because your homemade mascara lacks the potent synthetic preservatives found in commercial tubes, it is critical to treat it as a perishable item. You should never keep your DIY mascara for longer than two to four weeks.
If you notice a change in smell, color, or texture, discard it immediately. Bacteria can easily be transferred from your lashes to the mascara tube, and a contaminated wand can lead to serious eye infections.
To maximize the life of your product, store it in a cool, dark place. Sunlight and heat can cause the oils to oxidize and go rancid, which will not only ruin the product but also make it potentially irritating to your eyes. For the best results, consider making very small batches.
A single teaspoon of ingredients is often enough to fill a standard mascara tube, which is perfect for a monthly replacement cycle. Always clean your applicator wand thoroughly with warm water and soap after every use, or better yet, purchase a pack of disposable spoolies to ensure you aren’t reintroducing bacteria into your container every time you apply your makeup.
For further information on eye safety and avoiding common irritants, you can review the guidelines provided by the U.S. Food and Drug Administration regarding cosmetic product safety.
Mastering the Application Technique
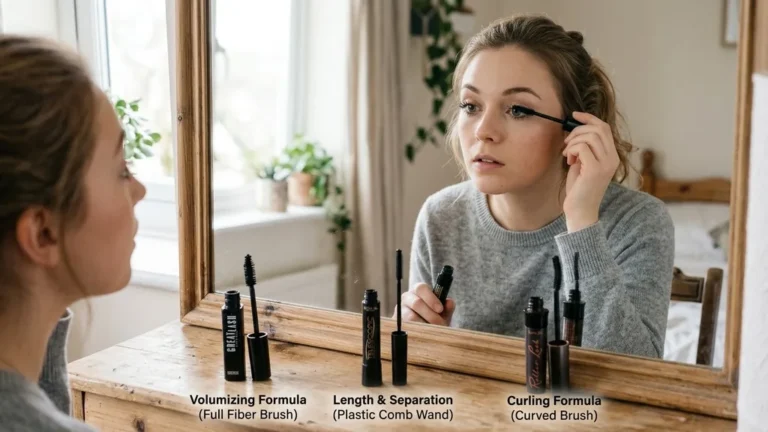
Applying a homemade mascara requires a slightly different technique than using a conventional, polymer-heavy formula. Because natural mascaras are often less “tacky,” they may take a few seconds longer to dry.
Start at the base of your lashes and wiggle the wand back and forth as you move toward the tips. This motion helps deposit the pigment and ensures the wax coats every lash evenly.
If you are used to waterproof mascara, you may find that a natural version feels different. Most homemade recipes are not waterproof, which makes them easier to remove with a simple oil-based cleanser or warm water. Avoid rubbing your eyes throughout the day, as even the best DIY formulas can smudge if they come into contact with excessive moisture or oils from your skin.
If you find the formula feels too light, you can apply a second coat once the first has completely dried. This layering technique is the secret to building volume without the need for synthetic fibers or heavy chemicals. Experiment with different ratios of charcoal and clay until you find the exact balance of thickness and length that works for your specific lash type.
Frequently Asked Questions
How long does homemade mascara last?
Homemade mascara generally has a shelf life of two to four weeks. Because it lacks professional-grade preservatives, it is highly susceptible to bacterial growth. It is best to make small batches and discard any remaining product after a month to maintain eye health.
Can I make mascara without beeswax?
Yes, you can substitute beeswax with candelilla wax, which is a plant-based alternative. Use slightly less candelilla wax than you would beeswax, as it is firmer and has a higher melting point, ensuring your mascara maintains the correct consistency for easy application.
Is it safe to use activated charcoal near my eyes?
Yes, food-grade or cosmetic-grade activated charcoal is generally considered safe for use in eye makeup. Always ensure the charcoal is finely milled to avoid a gritty texture that could scratch the cornea. If you experience any redness or irritation, discontinue use immediately.
Does homemade mascara smudge easily?
Since homemade mascara does not contain the synthetic polymers found in commercial formulas, it is more prone to smudging if it gets wet or if you have oily skin. You can improve its staying power by adding a small amount of clay or using a setting powder.