

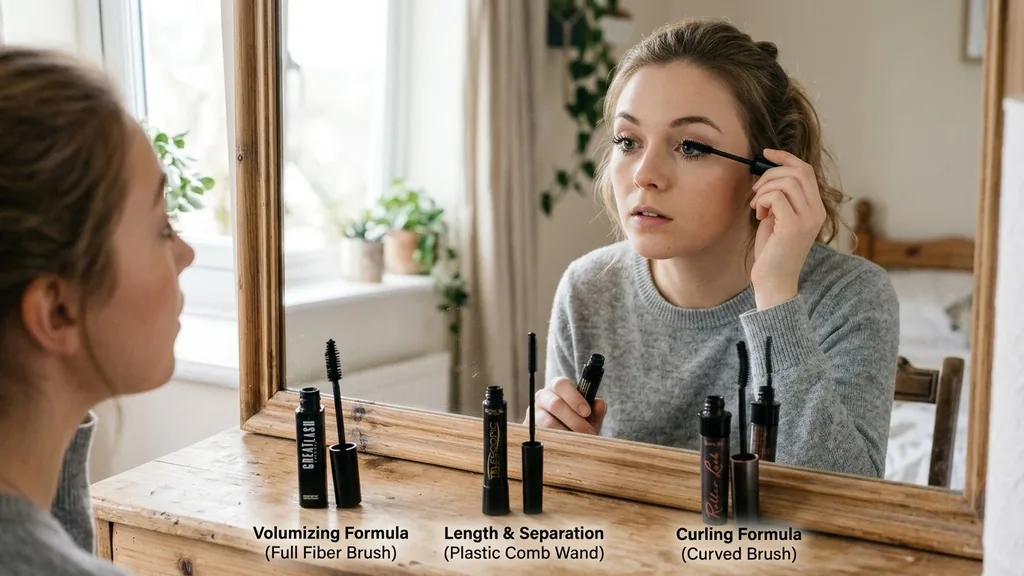
Learning how to put on mascara effectively is one of the most transformative skills in any beauty routine. While it seems like a simple task, achieving a flawless, clump-free finish requires more than just swiping a wand across your eyes.
It involves understanding your eye shape, selecting the right formula for your desired look, and mastering the physical technique of coating each lash from root to tip. Whether you want to add volume, enhance length, or simply define your natural lashes, the process relies on precision and patience.
Choosing the Right Mascara Formula and Wand
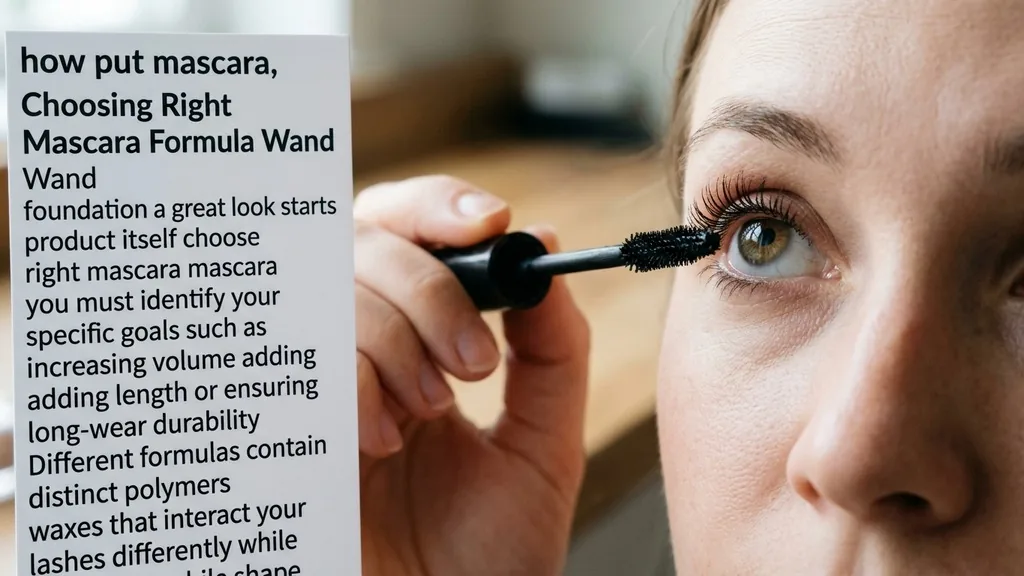
The foundation of a great look starts with the product itself. To choose the right mascara, you must identify your specific goals, such as increasing volume, adding length, or ensuring long-wear durability. Different formulas contain distinct polymers and waxes that interact with your lashes differently, while the shape of the brush dictates how the product is deposited.
If you have thin or sparse lashes, a thickening formula with a dense, bristled wand is your best option. These brushes hold more product and distribute it evenly to create the illusion of fullness. Conversely, if you are looking for length, search for formulas enriched with fibers and a tapered, flexible wand.
These tools allow you to reach the tiny, hard-to-reach lashes at the inner corners of the eye, elongating the appearance of your natural fringe. For those with sensitive eyes, prioritize hypoallergenic, fragrance-free products to prevent irritation throughout the day.
Understanding Wand Shapes and Their Effects
The mascara wand is the primary tool that defines your lash texture. A curved brush is ideal for those who want to boost their curl without relying heavily on mechanical tools.
Small, precision wands are excellent for beginners who struggle with smudging because they offer greater control. If you encounter difficulty with clumping, look for silicone-bristled wands; these are designed to separate each hair as they deposit the formula, ensuring a clean, fanned-out finish.
The Essential Step of Prepping Your Lashes
Applying mascara to unprepared lashes is a common mistake that leads to drooping and smudging. Proper preparation involves cleaning the area around the eye to remove excess oils and using a mechanical tool to lift the hair. If your lashes are naturally straight or point downward, they will hide the definition that mascara provides, making the product appear less effective.
Start by ensuring your lashes are completely dry and free of residual moisturizer or eye cream. Oily residue is the primary culprit behind the “raccoon eye” effect that happens halfway through the day. Once the area is clean, use an eyelash curler to gently lift the lashes at the base.
Position the curler close to the lash line, but be careful not to pinch your eyelid skin. Hold the pressure for about five to ten seconds, then pulse the curler upward to create a natural, sweeping arc rather than a harsh, right-angle bend.
Executing the Perfect Application Technique
When you finally apply mascara, the secret lies in the movement of your hand. Instead of simply pulling the wand straight up, use a gentle wiggling motion at the root of the lashes. This technique deposits the bulk of the product at the base, which creates a natural eyeliner effect and provides structural support so the lashes don’t droop under the weight of the formula.
After wiggling the wand at the roots, pull it upward through the length of the lashes in a slow, steady motion. As you reach the tips, slightly rotate the wand to ensure the ends are coated without becoming heavy or spiky.
If you want a more dramatic appearance, wait about thirty seconds for the first coat to become tacky—but not completely dry—before applying a second layer. Adding a third coat after the product has fully dried is a recipe for clumping, so timing is critical to maintain a smooth texture.
Mastering the Bottom Lashes Without Smudging
Many people struggle with the bottom lashes because the skin underneath the eye is prone to smudging. To avoid this, change your angle.
Instead of holding the wand horizontally, turn it vertically. This allows you to use the very tip of the wand to touch each individual hair with precision, preventing the brush from accidentally grazing the skin below your eye.
Another helpful trick involves placing a small piece of tissue or a clean makeup card under your bottom lashes while you work. This acts as a protective shield, catching any stray droplets of product.
If you prefer a lighter, more natural look, you can also use a specialized “bottom lash mascara,” which typically features a micro-wand designed specifically for fine, delicate hair. Remember that less is often more when it comes to the lower lash line; a subtle tint is usually enough to balance the eye without making the makeup look heavy or distracting.
Common Mistakes to Avoid for a Clean Finish
Even experienced makeup users occasionally fall into bad habits that compromise their results. One of the most frequent errors is “pumping” the wand inside the tube.
This action forces air into the container, which causes the formula to dry out prematurely and creates air pockets that lead to uneven application and clumping. Instead, gently swirl the wand inside the tube to pick up the product.
Another common oversight is failing to address the inner and outer corners. These lashes frame the eye, and missing them can make your look feel incomplete. Use the tip of your wand to reach these areas, angling your head slightly to get a better view in the mirror.
Finally, avoid applying too many layers of waterproof mascara daily. Because waterproof formulas are designed to be long-lasting and often contain stronger solvents, they can dehydrate your natural lashes over time, making them brittle and more prone to breakage if not removed with an appropriate oil-based cleanser.
| Mascara Type | Best For | Key Characteristic |
|---|---|---|
| Volumizing | Sparse Lashes | High wax content for thickness |
| Lengthening | Short Lashes | Contains fibers for extension |
| Waterproof | Humid Climates | Resists moisture and smearing |
| Tubing | Sensitive Eyes | Forms polymer tubes around hair |
Addressing Topical Gaps: Troubleshooting Clumps and Flakes
If you find that your mascara is clumping or flaking by the afternoon, you likely have a technical issue or a product compatibility problem. Clumping usually occurs when too much product is loaded onto the brush.
Before touching your eyes, wipe the excess mascara off the wand onto a clean tissue. This small step ensures that you are applying a thin, buildable layer rather than a thick, gloopy one.
Flaking, on the other hand, often happens when the product is past its prime or when it is applied over too much oily residue. Most mascaras have a shelf life of about three months. If your product is older than that, it is time to replace it.
Furthermore, if you wear contact lenses, ensure you are using a formula that is ophthalmologist-tested to prevent flaking particles from getting trapped behind your lenses, which can cause significant irritation. You can find more information on eye safety and hygiene at the American Academy of Ophthalmology.
Creating a Natural vs. Dramatic Look
The amount of product you use and how you layer it will determine whether you achieve a “no-makeup” look or a high-glamour effect. For a natural appearance, stick to one thin coat and focus on defining the roots. You can even use a clean spoolie brush to comb through your lashes immediately after applying the mascara; this helps remove excess product and ensures every hair is perfectly separated, giving you a soft, fluttery finish.
For a dramatic, wide-eyed look, focus your application on the outer third of the eyes. This creates a “cat-eye” effect that lifts the appearance of the eye. You can also apply a slightly thicker layer at the base of the lashes while keeping the tips light.
Layering is acceptable here, provided you allow each coat to settle slightly. If you want to take it a step further, you can use a lash primer. Primers provide a smooth, white or clear base that helps the mascara adhere better, essentially acting like a foundation for your lashes to increase volume and longevity.
The Importance of Proper Removal
The final stage of the process is removing the product at the end of the day. Never scrub your eyes aggressively, as this can cause lash loss and irritate the delicate skin around the eye. Instead, saturate a cotton pad with a gentle, oil-based makeup remover or micellar water.
Press the pad against your closed eyelid for about thirty seconds. This allows the remover to break down the waxes and polymers in the mascara.
Once the product has softened, gently swipe downward. Avoid rubbing side-to-side, which can tangle and break the lashes.
If you are using a tubing mascara, you are in luck: these formulas are designed to slide off the lashes with only warm water and gentle pressure, making them the easiest to remove without leaving a black residue behind. Consistent, gentle removal is the best way to ensure your lashes remain healthy, strong, and ready for your next application.
Frequently Asked Questions
- Should I apply mascara before or after eyeshadow? You should always apply mascara last in your eye makeup routine. Applying it before eyeshadow can cause powder to fall onto your wet lashes, leading to clumping and making the lashes look dull or dusty.
- How do I fix clumpy lashes after they have dried? Use a clean, disposable spoolie brush to comb through the lashes from root to tip. The bristles will act as a comb, breaking up the excess product and separating the hairs for a much cleaner, more defined appearance.
- Is it necessary to use an eyelash curler? While not strictly necessary, an eyelash curler is a game-changer for most people. It opens up the eye and prevents the lashes from pointing downward, which helps the mascara stay visible and prevents it from smudging onto your brow bone.
- Can I apply mascara to my bottom lashes every day? Yes, but keep the application light. A heavy, dark application on the bottom lashes can sometimes drag the eye down or emphasize dark circles. A light, precise coat is usually enough to frame the eye without making it look tired.