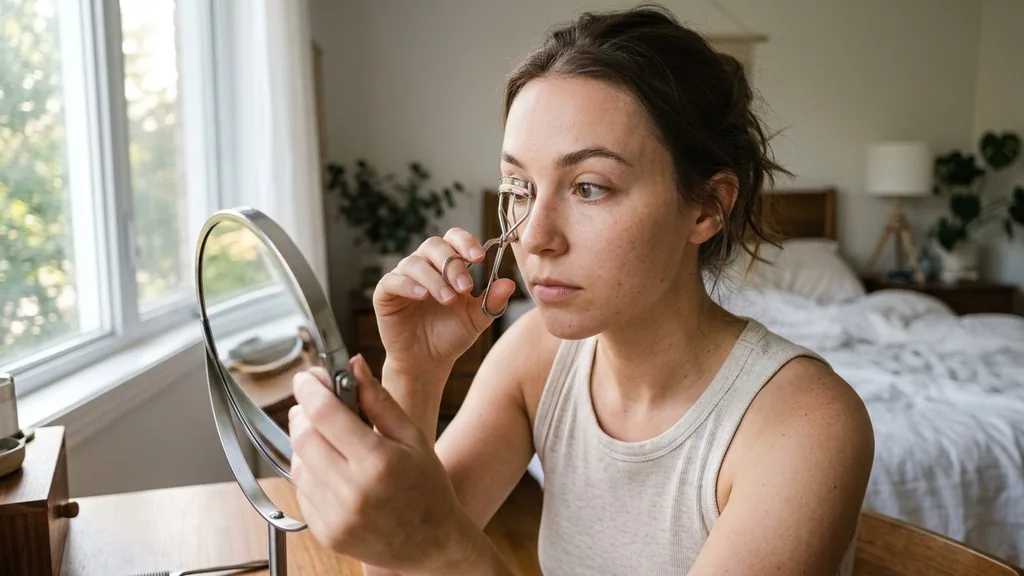
Achieving a wide-awake, lifted eye look is a cornerstone of daily beauty routines, yet a persistent debate continues to divide makeup enthusiasts: do you curl your eyelashes before or after mascara? The short answer, supported by the vast majority of professional makeup artists, is that you should always curl lashes before applying any product.
Attempting to crimp your lashes after they have been coated in pigment often leads to breakage, clumping, and a messy finish that can ruin an otherwise polished look. Understanding the mechanics of your eyelash curler and the composition of your eye makeup will help you master the art of the perfect lash lift without compromising the health of your natural hairs.
The Mechanics of Curling Before Mascara
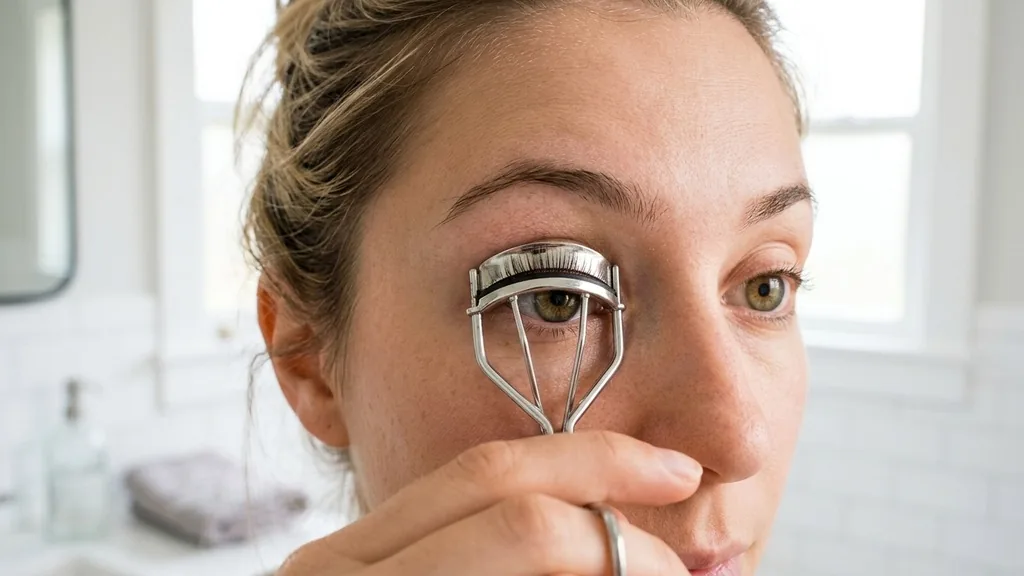
When you decide to curl your eyelashes before applying product, you are working with the natural flexibility of the hair. Eyelashes are essentially made of keratin, the same protein found in your hair and fingernails. In their clean, bare state, they are pliable and responsive to mechanical pressure.
By positioning the eyelash curler at the base of your lash line before you apply mascara, you allow the metal or plastic clamp to grip the hair directly. This direct contact ensures that the curl starts at the root, providing the most significant lift and the most dramatic opening effect for your eyes.
When you use the tool on clean lashes, the pressure is evenly distributed across the lash cluster. Because there is no sticky residue or hardening formula present, the hair can bend into a clean, smooth arc. This is the ideal foundation for your eye makeup application.
Once you have achieved that perfect curve, the subsequent application of a volumizing or lengthening mascara acts as a structural support. The formula essentially “sets” the curl in place, locking the hair into the shape created by the curler.
Think of it like using hairspray on a blowout; you shape the hair first, then apply the product to hold that shape throughout the day. By following this sequence, you ensure that your lashes maintain their lift from morning until night, resisting the natural tendency of straight lashes to droop under the weight of heavy makeup formulas.
Why Curling After Mascara Causes Damage
Many people who ask “do you curl your eyelashes before or after mascara” are tempted by the idea of a second boost after the pigment has dried. However, this is widely considered a major beauty faux pas. Once you apply mascara, the formula begins to dry and harden around the shaft of the lash.
This creates a rigid, brittle structure. If you clamp a curler onto lashes that are already coated and stiff, you are essentially applying pressure to a fragile, hardened surface.
This often results in the lashes sticking to the rubber pad of the curler. When you pull the curler away to release your lashes, there is a high probability that you will inadvertently pull out or snap the hairs.
Furthermore, curling after the fact creates unsightly, sharp kinks rather than a gentle, sweeping curl. Because the mascara has already set the hair into a certain position, the curler creates a harsh “L” shape or a zig-zag pattern that looks unnatural and distracting. This is not just a matter of aesthetics; it is a matter of lash health.
Repeatedly snapping the hairs while they are coated in mascara can lead to premature lash loss and thinning over time. To learn more about the delicate nature of the eyelid and its surrounding tissues, you can read more about safe eye makeup practices as outlined by the American Academy of Ophthalmology. Protecting your natural lashes should always take precedence over achieving a temporary, potentially damaging aesthetic boost.
Essential Techniques for a Lasting Lift
Achieving that wide-eyed look isn’t just about the timing; it’s about the technique you use with your eyelash curler. Even if you curl before applying product, doing it incorrectly can lead to lackluster results. To get the best possible lift, start by positioning the curler as close to the base of your lashes as possible without pinching your eyelid skin.
Hold the curler closed for about five to ten seconds, using a gentle pumping motion rather than a hard, singular squeeze. This incremental pressure ensures that the hair is curled evenly from root to tip rather than being crimped into a sharp angle.
If you have particularly stubborn, straight lashes, you might try a “three-step” technique. First, curl at the base of the lash line, hold for a few seconds, and release. Second, move the curler halfway up the length of your lashes and give it another gentle squeeze.
Finally, move to the tips of the lashes for a final, light curl. This creates a soft, natural-looking curve that mimics the look of a professional lash lift. Once you have achieved this shape, apply your mascara with a steady hand, wiggling the wand at the base of the lashes to deposit the most product there.
This reinforces the curl and provides the structural support needed to keep the lashes lifted. If you use a waterproof formula, the curl will likely hold even longer, as waterproof mascaras are generally lighter and less prone to weighing down the hair compared to traditional water-based formulas.
Common Mistakes to Avoid
Even with the best intentions, it is easy to fall into habits that prevent a great lash look. One of the most common mistakes is failing to clean your tools. An eyelash curler that is caked with old mascara, dust, or skin oils will not grip your lashes effectively.
Over time, this buildup can also become a breeding ground for bacteria, which is the last thing you want near your eyes. You should wipe the rubber pad of your curler with a makeup remover or rubbing alcohol at least once a week to ensure a clean, slip-free surface.
Another error is using a curler with a worn-out rubber pad. If the pad has a deep groove in it from months of use, the metal of the curler might make contact with your lashes, which can cause them to break or cut. Replace the silicone or rubber pad on your curler every three to six months, or whenever you notice the material starting to crack or lose its elasticity.
Additionally, avoid “tugging” at your lashes while the curler is closed. The movement should be a gentle press, not a pull. If you find that your lashes are constantly falling straight, you might also consider the type of mascara you are using.
Some heavy, oil-based formulas can be too dense for fine lashes, causing them to lose their curl immediately after application. Switching to a lighter, volumizing formula or a curling-specific mascara can make a significant difference in how your look holds up throughout the day.
Comparing Methods and Timing
To clarify the debate, it is helpful to look at the pros and cons of different approaches. While “before” is the standard recommendation, some people are curious about the “after” method due to misconceptions about how curls are maintained.
| Timing of Curl | Effect on Lash Health | Aesthetic Result | Longevity |
|---|---|---|---|
| Before Mascara | Safe and gentle | Natural, sweeping curve | Long-lasting hold |
| After Mascara | High risk of breakage | Clumpy, kinked appearance | Temporary and messy |
| Heated Curling | Requires caution | Dramatic, intense lift | Very high |
As the table demonstrates, the “before” method is superior in almost every category. The health of your lashes is paramount, and the risks associated with curling after applying product simply outweigh any perceived benefits. If you feel you need extra help, a heated eyelash curler can be a great investment, but it must still be used on clean, dry lashes to avoid melting or damaging the mascara formula.
Addressing Topical Gaps: The Truth About “Setting” Your Lashes
A common point of confusion that often appears in beauty forums is the idea that you can “set” your lashes with a curler after applying mascara, similar to how you use a curling iron on hair. This is a fundamental misunderstanding of the material properties of eyelashes. Human hair (on your head) is much thicker and has a different cuticle structure than the delicate, thin hairs that make up your eyelashes.
When you use a curling iron on head hair, you are using heat to break and reform the hydrogen bonds within the hair shaft. While you can use a heated curler on lashes, applying a metal clamp to a layer of wax-based or polymer-based makeup—which is what mascara is made of—does not “set” the hair in the same way.
Instead, the mascara acts as a coating. If you heat that coating, you are essentially melting the wax and oils in the product. While this might temporarily make the lashes more pliable, as soon as that product cools, it will stiffen again, often leading to a messy, clumpy, and uneven result.
Furthermore, many people are concerned about whether they should use a curler on waterproof mascara specifically. Even with waterproof formulas, the answer remains the same: do not curl after. Waterproof mascara is designed to be highly durable and resistant to water, but it is not resistant to the mechanical stress of a metal clamp.
If you have applied waterproof mascara, it is already “locked” in place. Trying to change the shape of that locked-in hair is a recipe for disaster. The only way to achieve a different shape once your mascara is on is to remove the product with an oil-based cleanser, clean your lashes, and start the process over from the beginning.
Expert Tips for Maintaining the Curl
If you struggle to keep your lashes curled, there are several professional-grade tricks you can incorporate into your routine beyond just the timing of your curler. First, consider the shape of your curler. Not all eyelash curlers are created equal; they have different curvatures designed to fit different eye shapes.
If your curler is too flat for your eye shape, you will miss the lashes on the inner and outer corners, resulting in an uneven lift. Find a curler that matches the curve of your lash line to ensure every single hair gets the same amount of pressure.
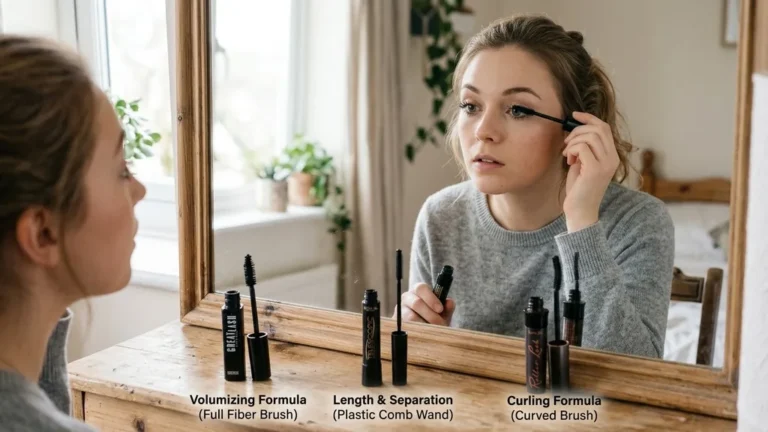
Second, consider the formula of your mascara. If your lashes are naturally very straight and stubborn, look for “curling” mascaras that contain polymers specifically designed to hold a shape. These formulas are often slightly drier and more lightweight than “volumizing” or “thickening” mascaras, which can be too heavy and cause the lashes to droop.
Third, don’t overlook the importance of the base. Using a lash primer can provide a thin, lightweight layer that adds structure to the lash before the pigment is applied. This creates a “scaffolding” that helps the curl stay upright.
Finally, remember that your lashes, like the hair on your head, need care. Incorporating a lash serum into your nighttime routine can help keep the hairs healthy, hydrated, and strong.
Healthy lashes are more resilient and hold a curl much better than dry, brittle, or damaged lashes. By focusing on the health of the lash itself, you make the job of the curler much easier, allowing you to achieve a beautiful, wide-eyed look without having to resort to risky techniques.
Frequently Asked Questions
Is it ever safe to curl lashes after mascara?
No, it is never recommended. Curling after mascara risks snapping your lashes, causing them to stick to the curler, and creating unsightly clumps or sharp, unnatural kinks. Always curl your bare lashes first to ensure safety and a smooth, sweeping, lifted effect that lasts all day.
What should I do if my lashes won’t hold a curl?
If your lashes fall flat, try using a waterproof mascara, which is generally lighter and holds a curl better than water-based formulas. Additionally, ensure your curler fits your eye shape correctly and consider using a lash primer to provide extra structural support before applying your mascara.
How often should I replace my eyelash curler?
You should replace the rubber or silicone pad on your curler every three months, or sooner if it shows signs of cracking. The entire curler should be replaced every year to ensure the hinge remains smooth and the metal frame maintains its proper shape and tension.
Can I heat my eyelash curler with a blow dryer?
While some use a hair dryer to warm their curler, it is risky. Metal heats up unevenly and can easily burn your eyelid skin. If you want a heated effect, invest in a dedicated, temperature-controlled electric lash curler designed specifically to be safe for use on the delicate eye area.