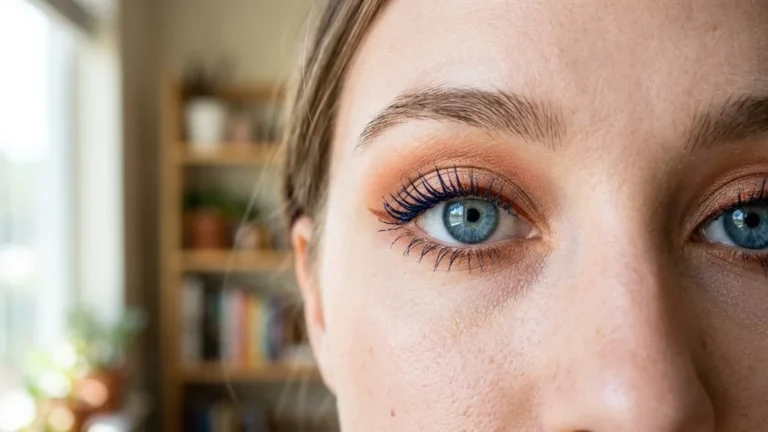

Learning how to put mascara on effectively is one of the most transformative skills in a beauty routine. While the process might seem straightforward, achieving a clump-free, fanned-out finish requires a blend of technique, the right tools, and an understanding of your unique eye shape. Whether you are a beginner looking for a subtle, everyday look or someone aiming for high-impact, dramatic volume, the way you manipulate the wand changes everything.
Preparing Your Lashes for Optimal Results
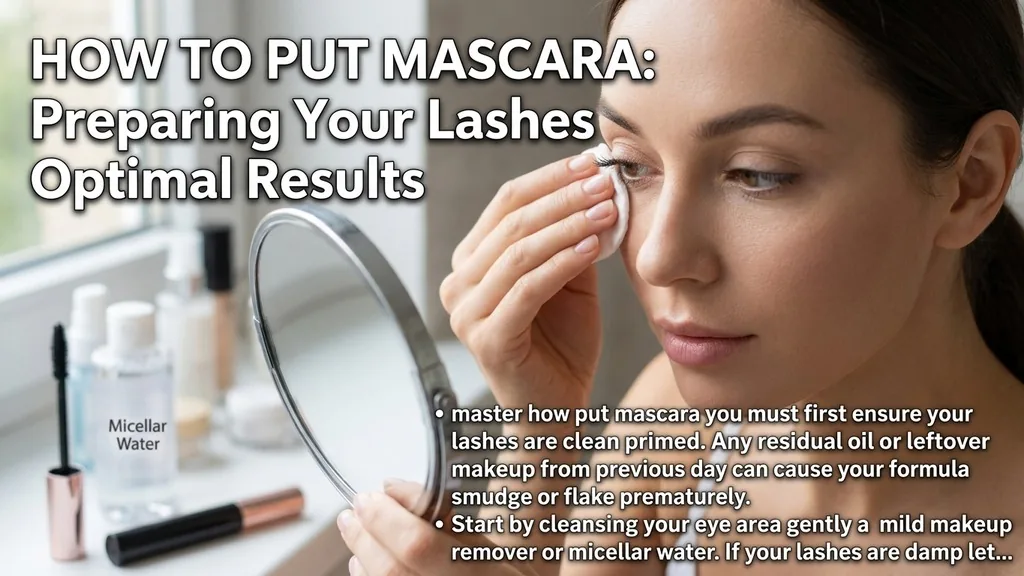
To master how to put mascara on, you must first ensure your lashes are clean and primed. Any residual oil or leftover makeup from the previous day can cause your formula to smudge or flake prematurely.
Start by cleansing your eye area gently with a mild makeup remover or micellar water. If your lashes are damp, let them dry completely before you begin, as moisture can prevent the pigment from adhering correctly and may lead to clumping.
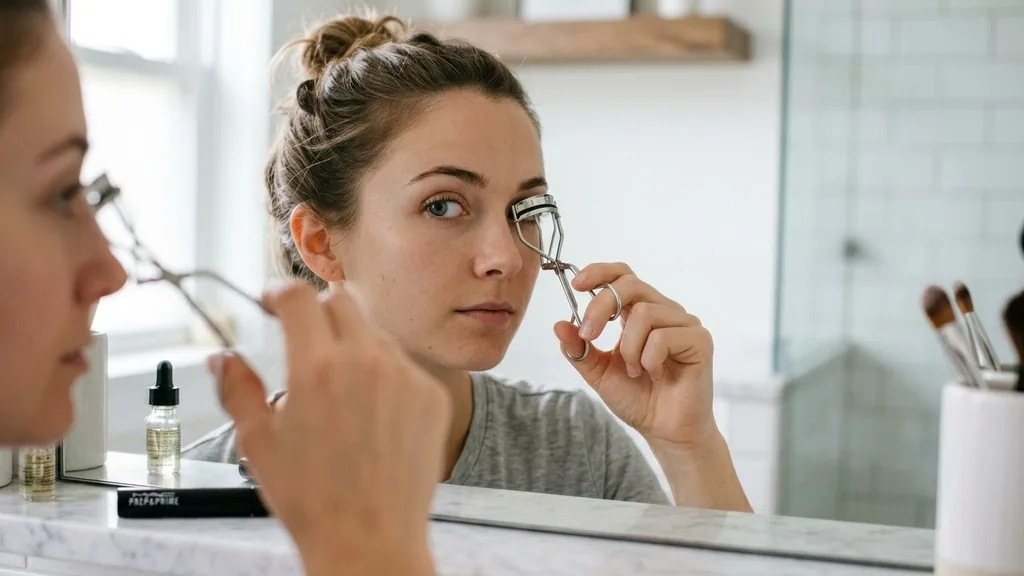
Using an eyelash curler is a critical step for many, especially if your lashes grow straight downward. To curl correctly, position the tool at the base of your upper lashes, squeeze gently for about five seconds, and then release. Avoid curling after the product has dried, as this can cause your lashes to snap or break.
If you find curlers intimidating, you can use your fingers to gently push your lashes upward while the mascara is still slightly wet, though this offers less dramatic results. Priming your lashes with a lash primer can also provide a smooth base, separating the hairs and giving the pigment something to grip onto, which is particularly helpful if you have thin or sparse lashes.
The Wiggle Technique for Maximum Volume
The secret to avoiding clumpy, spider-like lashes lies in the wiggle. When you pull the wand straight from the tube, you often pick up too much product, which inevitably leads to heavy, uneven application.
Instead, remove the wand and wipe any excess pigment onto the rim of the tube or a clean tissue. This small adjustment ensures you have control over the amount of product deposited on each lash.
Place the brush at the very base of your upper lashes. Instead of pulling it straight up, wiggle the wand back and forth horizontally before pulling it through to the tips. This action deposits the bulk of the pigment at the root, which creates the illusion of thicker, fuller lash lines.
The tips of the lashes need less product, as extra weight there can cause them to droop. By focusing the intensity at the base, you provide structural support that holds the curl throughout the day. If you notice a clump forming, use a clean spoolie brush to comb through the lashes while the formula is still wet.
Techniques for Applying Mascara to Bottom Lashes
Many people struggle with how to put mascara on their bottom lashes without creating messy smudges or “raccoon eyes.” Because the skin under the eye is delicate and prone to oiliness, it often causes lower lash mascara to transfer. To minimize this, use a smaller, thinner brush—or even a specialized lower-lash wand—to prevent overloading the delicate hairs.
Hold the wand vertically so that only the tip touches the bottom lashes. Gently sweep the brush from root to tip, focusing on the center of the eye to open it up. If you are worried about transfer, try applying a translucent setting powder to the skin directly under your lower lash line before you start.
This creates a barrier that prevents the formula from sticking to your skin if it happens to touch. If you do get a smudge, don‘t panic.
Let it dry completely before attempting to remove it. Once dry, you can flick it away with a dry cotton swab or a clean, stiff makeup brush without ruining your concealer or foundation underneath.
Selecting the Right Wand and Formula
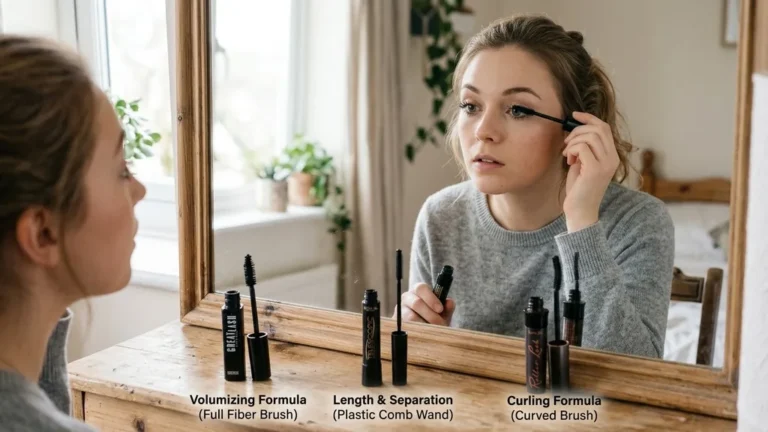
The market is saturated with different types of applicators, and knowing which one suits your needs is essential for a professional finish. Different brush shapes are designed to address specific concerns like length, volume, or separation.
- Plastic or rubber bristles: These are excellent for grabbing and separating each individual lash, providing a clean, fanned-out look.
- Thick, fluffy fiber brushes: These are designed to hold more product, making them ideal for building significant volume and fullness.
- Curved wands: These help mirror the natural shape of your eye, making it easier to reach the inner and outer corners without poking your skin.
- Tapered, cone-shaped brushes: These allow for precise application, especially for those hard-to-reach lashes at the inner corners.
- Micro-brushes: These tiny wands are perfect for shorter lashes or for achieving a very natural, “no-makeup” makeup look.
When choosing a formula, consider your lifestyle. Waterproof formulas are excellent for events or humid climates but require oil-based removers to break down. Tubing mascaras are a popular alternative; they wrap each lash in a polymer tube that slides off with just warm water, making them a great choice for those with sensitive eyes or those who want to avoid the “panda eye” effect.
Addressing Common Application Mistakes
Even seasoned makeup users run into issues. Understanding how to troubleshoot these problems can elevate your routine from amateur to expert. One of the most common mistakes is pumping the wand into the tube.
This forces air into the container, which dries out the product much faster than normal. Instead of pumping, swirl the brush inside the tube to pick up the desired amount of mascara.
Another frequent issue is over-application. If you love a dramatic look, apply your mascara in thin, multiple layers rather than one heavy, thick coat. Allow each layer to dry for about 30 seconds before applying the next.
This allows the formula to set, providing better grip for the subsequent coat and preventing the lashes from sticking together. If you find your lashes looking brittle or stiff, look for formulas that contain conditioning ingredients like panthenol or vitamin E. These keep the lashes flexible throughout the day, reducing the risk of breakage when you eventually remove your makeup at night.
Comparing Application Styles for Different Looks
Your desired aesthetic will dictate the specific motions you use. The following table breaks down how to adjust your technique based on the outcome you want to achieve.
| Desired Look | Application Technique | Key Focus |
|---|---|---|
| Natural/Everyday | Single, light coat | Focus on the roots, minimal product on tips |
| Volume/Dramatic | Layering with wiggles | Zig-zag motion at the base to build density |
| Lengthening | Vertical pulling | Focus on extending the tips, avoid heavy roots |
| Cat-Eye Effect | Outer corner focus | Concentrate product on the outer third of the lashes |
By varying your technique, you can use the same tube of mascara to create vastly different results. For a cat-eye effect, for instance, you should avoid applying too much product to the inner lashes.
Instead, pull the brush outward toward your temples. This draws the eye upward and creates a lifted, almond-shaped appearance that is incredibly flattering for many eye shapes.
Maintenance and Hygiene Best Practices
Knowing how to put mascara on is only half the battle; maintaining the health of your eyes is just as important. Mascara is a breeding ground for bacteria, especially because it is a wet, dark environment.
To prevent eye infections, you should replace your mascara every three months, even if there is still product left in the tube. Never share your mascara with friends, as this is the fastest way to transmit bacteria between users.
If you notice an unusual smell, a change in texture, or if the product has become thick and clumpy, discard it immediately. Never add water or oil to a dried-out mascara tube to “revive” it. This introduces contaminants and changes the chemical balance of the preservative system, which can lead to irritation or severe eye infections.
Always store your makeup in a cool, dry place away from direct sunlight. If you have sensitive eyes, look for ophthalmologist-tested formulas that are free from harsh fragrances and dyes. Taking care of your tools is just as vital; if you use a lash comb or a separate spoolie, wash it with gentle soap and water at least once a week to keep it free of old product buildup.
Solving Topical Gaps and Common Questions
Many users ask about the order of operations in their makeup routine. Should you apply mascara before or after eyeshadow? Generally, it is best to apply your eyeshadow and eyeliner first.
If you apply mascara first, you risk getting eyeshadow fallout on your fresh, wet lashes, which can dull the color and cause clumping. Furthermore, applying shadow after mascara can make it difficult to get your brush close to the lash line without smudging the lashes you just worked so hard to perfect.
Another common gap in knowledge involves the “fanning” technique. To achieve a wide-eyed look, many people forget to address the lashes that grow toward the nose. Use the tip of your wand to gently pull these inner lashes toward the inner corner of your eye.
This creates a wider, more open look. Similarly, for the lashes on the outer corner, pull them toward your ear.
This creates the “winged” effect that helps balance out the eye shape. If you have hooded eyes, focusing on the center lashes and curling them intensely can help make your eyes appear more prominent by lifting the area that is otherwise hidden by the hood of the lid.
Frequently Asked Questions
- Should I apply mascara to my top and bottom lashes? It is a personal preference. Applying to both can define the eye, but applying only to the top creates a more natural, youthful appearance. If you have small eyes, avoiding bottom mascara can make them look larger.
- How do I stop my mascara from clumping? Always wipe excess product from the wand before application. Use a clean spoolie to comb through your lashes immediately after applying each coat. Ensure you are not pumping the wand, as this introduces air and dries out the formula.
- Can I apply mascara without a curler? Yes, you can. While a curler provides the best lift, you can use your clean index finger to push your lashes upward against your eyelid for a few seconds while the mascara is still wet, which provides a natural, subtle lift.
- Should mascara be applied first or last? Mascara should almost always be the final step of your eye makeup routine. Applying it after your eyeshadow and eyeliner ensures that you don’t accidentally cover your lashes in powder or smudge them while blending your shadows.