
Achieving a wide-eyed, bright look often comes down to the subtle details in your beauty routine. One of the most common debates among makeup enthusiasts involves the sequence of lash preparation. If you have ever wondered do you curl eyelashes before or after mascara, you are certainly not alone.
The order in which you apply these products impacts not only the aesthetic result but also the health and integrity of your natural lashes. Getting this step right can transform how your eyes appear, providing an instant lift that defines your features without requiring heavy eyeliner or false lashes.
The Case for Curling Before Mascara
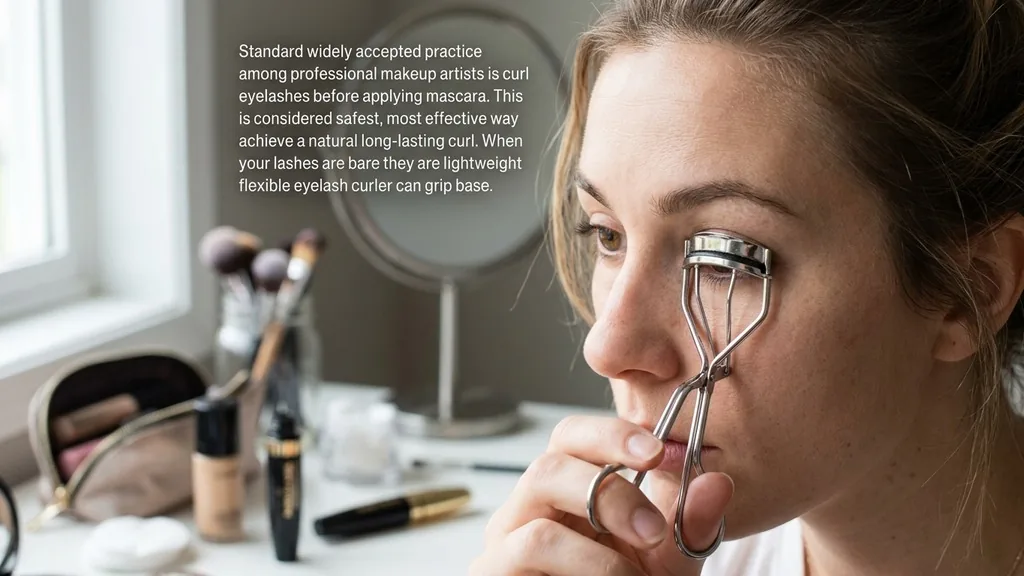
The standard, widely accepted practice among professional makeup artists is to curl eyelashes before applying mascara. This method is considered the safest and most effective way to achieve a natural, long-lasting curl. When your lashes are bare, they are lightweight and flexible.
The eyelash curler can grip the base of the lashes firmly, creating a gentle bend that holds its shape throughout the day. By curling on a clean, dry surface, you ensure that the metal or plastic pads of the tool make direct contact with the hair, allowing for maximum leverage without the risk of slippage.
Furthermore, applying mascara first creates a tacky, semi-dried layer on your lashes. If you attempt to use an eyelash curler on coated lashes, the product can stick to the curler’s silicone pad. This often leads to a messy situation where the curler pulls at your lashes or removes the mascara you just applied, resulting in clumpy, uneven, or even damaged hair.
When you prioritize the curler as the first step, you create a foundation. Once the lashes are lifted, the mascara acts as a setting agent, locking that shape in place and preventing the lashes from drooping back down as the day progresses.
Why Curling After Mascara Is Risky
While some people swear by curling their lashes after the mascara has dried, this technique carries significant risks for lash health. Mascara is designed to coat the lash in pigments and waxes, which can stiffen the hair once dry. When you clamp a lash curler onto stiff, coated lashes, you are putting them under immense mechanical stress.
This pressure often causes the lashes to snap or break off at the base. Over time, this practice can lead to thinning, patchy lash lines that take weeks or even months to recover.
Beyond the potential for physical damage, the aesthetic results are rarely as clean as pre-mascara curling. Because the mascara is already on the lashes, the curler will likely create a harsh, unnatural crimp rather than a soft, sweeping curve. This sharp angle can make the lashes look stubby or jagged.
Additionally, the buildup of mascara on your tools can harbor bacteria if not cleaned daily, increasing the risk of eye infections. If you find that your lashes simply won’t hold a shape, the issue is likely the formula of your mascara or the quality of your curler, rather than a need to curl after application.
Choosing the Right Eyelash Curler
The tool you choose significantly influences the efficacy of your eye makeup routine. Not all eyelash curlers are created equal, and finding one that fits the curvature of your eye is paramount to getting a good look.
A curler that is too flat for a deep-set eye, or too curved for a flatter eye shape, will leave you struggling to catch every lash. When shopping for a device, look for one that feels sturdy, has a smooth hinge, and features a high-quality, squishy silicone pad that provides enough cushion to protect the lashes from the metal frame.
If you have struggled to get a consistent result, consider these factors when selecting your next tool:
- Pad Softness: A firm pad can be too aggressive, while a soft, rounded pad prevents the dreaded “L-shape” crimp.
- Frame Width: Ensure the width of the curler spans your entire lash line so you don’t have to reposition it multiple times.
- Spring Mechanism: Some users prefer a spring-loaded curler for better control over the pressure applied.
- Replaceable Pads: Always choose a model that offers replacement pads, as old, worn-out pads can cut your lashes.
The Proper Technique for a Perfect Lift
To master the art of the lift, precision is key. Start by ensuring your lashes are clean and free of any residual oils or old makeup. Oils can cause the curl to fall flat almost immediately.
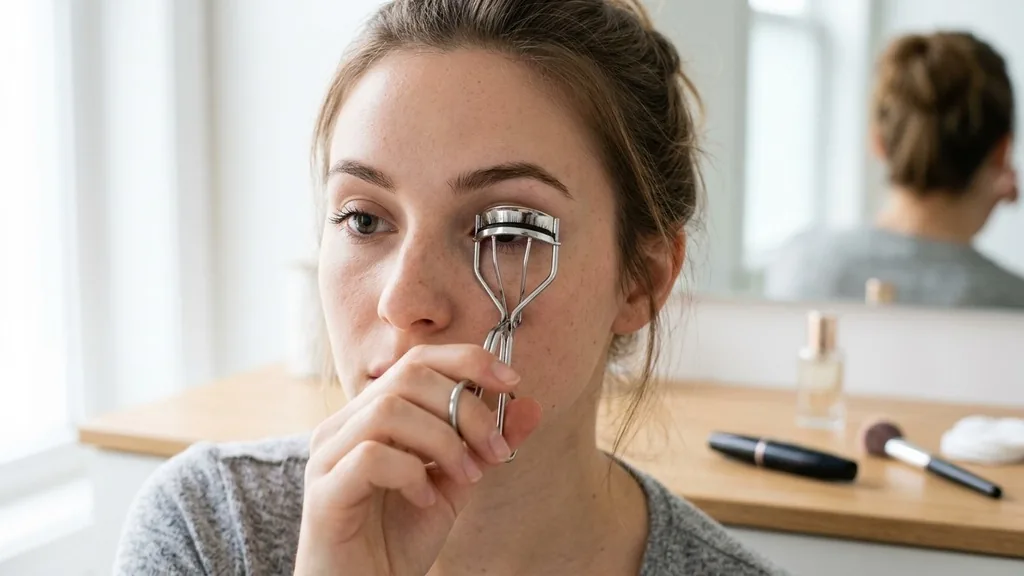
Position the eyelash curler at the very root of your upper lashes, making sure not to pinch your eyelid skin. Gently pulse the curler three or four times, moving slightly outward toward the mid-lengths of the lashes. Do not pull or tug; the movement should be controlled and deliberate.
Once you reach the middle of the lash, hold the squeeze for five to ten seconds. This “pulse-and-hold” technique is far more effective than a single, forceful squeeze.
By moving the curler along the length of the lash, you create a natural, sweeping arc that opens up the eye area significantly. If you are interested in the science of how different grooming habits affect hair, you can review these general hair care principles provided by the American Academy of Dermatology to understand how to keep your lashes healthy and strong.
Comparing Curling Methods
Understanding the difference between various approaches can help you decide what works best for your specific lash type. Whether you have straight, thin, or thick lashes, the following comparison highlights the impact of your chosen sequence.
| Method | Pros | Cons |
|---|---|---|
| Curling Before Mascara | Safer, natural look, better hold | Requires a steady hand |
| Curling After Mascara | Can provide extra lift for stubborn lashes | High risk of breakage and clumping |
| Heated Curler Usage | Extremely long-lasting hold | Risk of heat damage to delicate hairs |
Addressing Topical Gaps: Why My Curl Doesn’t Last
A common frustration is when lashes appear perfectly curled in the mirror but fall flat within an hour of leaving the house. This usually happens for one of three reasons: the humidity in your environment, the weight of your mascara, or the natural texture of your lashes. If you have naturally straight, thick lashes, they are resistant to holding a curve.
In this case, standard drugstore mascaras might be too heavy, weighing the hair down as the formula dries. Switching to a waterproof formula can often solve this, as these formulas contain volatile solvents that evaporate quickly and lock the shape in place.
Another often overlooked reason is that your curler pad might be dirty. If the silicone has absorbed oils from your skin or old makeup, it will slide off the lash rather than gripping it. Keeping your tools clean with a bit of rubbing alcohol or mild soap is essential.
Finally, consider your mascara application technique. If you apply a heavy, wet coat from the root, you are essentially “relaxing” the curl you just created. Try applying the mascara primarily to the tips or using a light, buildable formula that doesn’t add excessive weight to the base of the lash.
The Role of Mascara Formulas
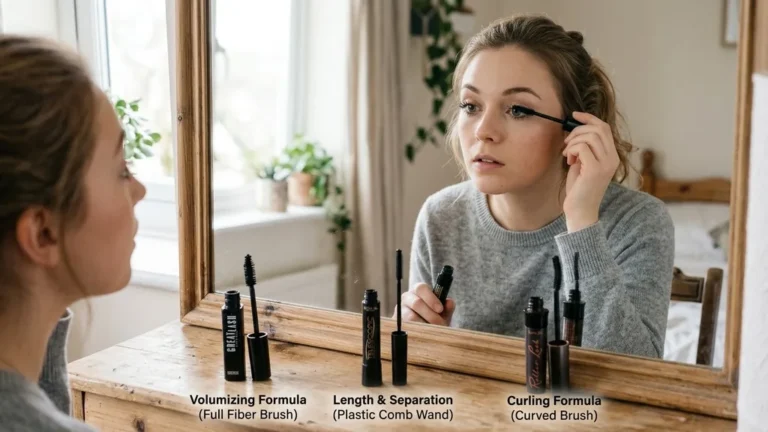
The type of mascara you select plays a supporting role in the longevity of your curled lashes. Volumizing formulas are often thicker and heavier, which can lead to drooping if you have fine hair. Lengthening or “tubing” mascaras are generally lighter and better at holding a shape.
Tubing mascaras, in particular, form tiny polymer cylinders around each lash. Because these polymers are lightweight and don’t smudge, they are excellent for maintaining the lift you achieved with your eyelash curler.
If you find that your lashes are particularly stubborn, avoid “conditioning” mascaras during the day. While these are great for lash health, they often contain oils or waxes that keep the lash hair flexible and soft.
While this is good for preventing breakage, it is the enemy of a tight, lasting curl. Save your conditioning treatments for your nightly routine, and opt for a formula designed for “hold” or “curl” during the day to ensure your eye makeup stays crisp and lifted.
Maintenance and Hygiene for Your Tools
Neglecting the hygiene of your lash curler is a common mistake that affects performance. Over time, the silicone pad develops grooves where the metal frame presses into it. These grooves can actually trap your lashes, causing them to bend at odd angles or get pulled out during the curling process.
Replace your silicone pads every three months, or sooner if you notice visible wear and tear. If you use your curler every day, the pad will naturally degrade faster.
Cleaning your curler is just as important as cleaning your makeup brushes. A buildup of old mascara, dust, and skin cells on the curler can lead to eye irritation or even styes. Take a cotton pad with a little bit of eye makeup remover or alcohol and wipe down the metal frame and the silicone pad after every few uses.
This ensures that the tool remains tacky enough to grip the lashes properly and keeps your eye area safe from bacteria. By treating your eyelash curler as a precision instrument rather than just a piece of plastic, you will notice a significant improvement in the consistency of your results.
Expert Tips for Long-Lasting Results
If you want to take your routine to the next level, there are a few expert-approved tricks that can help. One popular method involves warming your eyelash curler slightly with a hair dryer for a few seconds. This mimics the effect of a heated lash tool, helping to set the shape more effectively.
However, always test the temperature on the back of your hand first to avoid burning your eyelid skin. The heat should be barely warm to the touch, never hot.
Another tip is to focus on the root, middle, and tip of the lash. Many people only curl the base, which creates a sharp angle that looks unnatural. By using a “pulse” motion across three sections of the lash, you create a beautiful, wide-eyed arc.
Remember to look down into a mirror while curling; this helps you get as close to the lash line as possible without pinching the delicate skin of your eyelid. With consistent practice and the right tools, you will find that you no longer have to ask do you curl eyelashes before or after mascara, as the process will become a natural, intuitive part of your morning ritual.
Frequently Asked Questions
- Is it ever okay to curl lashes after mascara? It is generally not recommended because it can cause lashes to break or stick to the curler. If you must, wait until the mascara is completely dry and use a very light touch, but it is much safer to stick to pre-mascara curling.
- How often should I replace my eyelash curler pads? You should replace the silicone pads on your curler every three months. If you notice the pad has a deep groove or is starting to crack, replace it immediately to prevent the metal frame from cutting or damaging your natural lashes during the curling process.
- Can curling my lashes make them fall out? Yes, if done incorrectly, such as pulling on the lashes or curling them after mascara application. Always curl on clean, dry lashes and avoid tugging. Using a high-quality curler with a soft, rounded pad will significantly reduce the risk of lash breakage and loss.