
Achieving a flawless, wide-eyed look without the frustration of spider-legs or spiky, stuck-together lashes is an art form that relies more on your technique than the price tag of your product. Many people struggle with the common issue of excess mascara gathering at the tips or base of their lashes, creating a heavy, uneven appearance.
Learning how to apply mascara without clumping requires a combination of proper tool preparation, controlled application motions, and post-application grooming. When you master these small adjustments, you transition from messy, uneven results to a clean, defined, and voluminous finish that enhances your natural beauty.
Understanding Why Mascara Clumps on Your Lashes
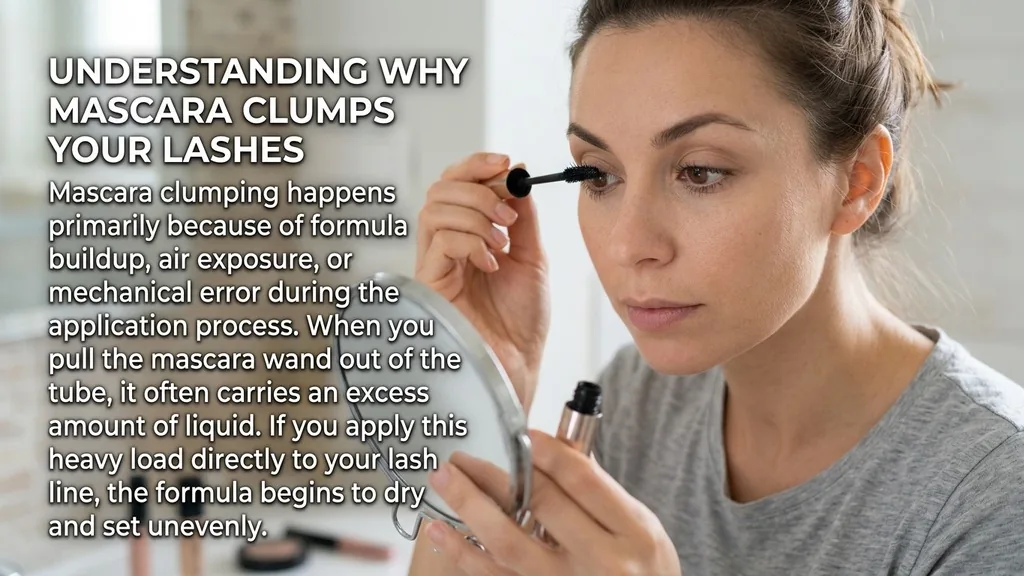
Mascara clumping happens primarily because of formula buildup, air exposure, or mechanical error during the application process. When you pull the mascara wand out of the tube, it often carries an excess amount of liquid.
If you apply this heavy load directly to your lash line, the formula begins to dry and set unevenly, causing individual hairs to stick together. Furthermore, if you are layering a fresh coat over a layer that has already partially dried, the second application will catch on the tacky film of the first, creating clusters of pigment rather than smooth, separated coverage.
Another significant contributor is the condition of the wand itself. Over time, dried product accumulates on the bristles, effectively turning a precision applicator into a clumpy brush that traps excess material. Additionally, if your mascara is nearing the end of its shelf life—typically three months after opening—the formula becomes thicker and more prone to forming tacky clumps.
Maintaining your tools and respecting the expiration date are fundamental steps in preventing the dreaded “spider lash” effect. By keeping the wand clean and replacing your product regularly, you minimize the physical barriers to a clean application.
Preparing Your Lashes for a Smooth Application
Before you even touch your mascara wand, your lashes need to be properly primed. Any residual oils from skincare products or leftover makeup from the previous day can interfere with how the formula adheres to the hair. If your lashes are oily, the product is more likely to slide around and clump together instead of setting firmly.
Start by using a gentle oil-free cleanser or micellar water to wipe down your eye area. This ensures that the surface is clean, dry, and ready for the product to grip evenly.
Using an eyelash curler is a crucial step that many people skip, yet it significantly influences the final result. By curling your lashes before you apply mascara, you create a structural base that keeps the lashes separated and lifted. When lashes are curled, they are less likely to touch each other during the application process.
Make sure to use the curler on clean, dry lashes only—never curl after applying mascara, as this can cause the lashes to stick to the tool and potentially break or pull out. A well-curled lash provides a canvas that allows the mascara to coat each hair from base to tip without the lashes collapsing into a clumped mess.
The Wiggle Technique for Maximum Separation
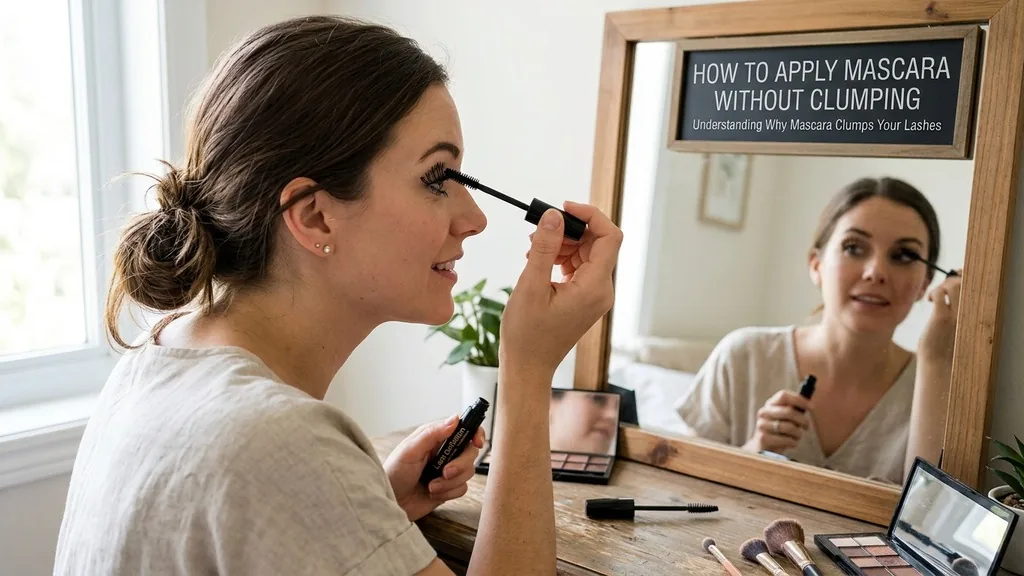
The secret to professional-looking lashes often lies in the specific motion you use during application. Instead of simply swiping the wand upward from base to tip, you should employ a gentle “wiggle” or zigzag motion at the root of the lashes.
By wiggling the brush horizontally at the very base, you deposit the bulk of the pigment where the lashes are thickest. This provides the necessary volume without overloading the delicate tips of the lashes, which is where clumping usually becomes most visible.
Once you have wiggled at the roots, pull the wand upward in a slow, steady motion. This dragging action ensures that the product is distributed along the length of the lash. If you move too fast, you might miss spots or create uneven streaks.
If you move too slowly, the product might dry mid-stroke, causing the bristles to snag. Consistent, fluid movement is essential for achieving a clean, fanned-out look. Many makeup artists suggest looking slightly downward into a mirror while doing this, as it exposes the full length of your lashes and makes it easier to reach the roots without getting product on your eyelid.
Managing Excess Product on the Wand
One of the most common mistakes is failing to control the amount of product on the applicator. When you pull the wand out, look at it; if you see large globs of formula on the bristles, you are almost guaranteed to experience clumping. Before bringing the wand toward your eye, wipe the excess product off on a clean tissue or the rim of the tube.
This simple act of moderation is the single most effective way to prevent clumping. You are far better off applying two thin, buildable coats than one thick, heavy layer that is prone to drying into clumps.
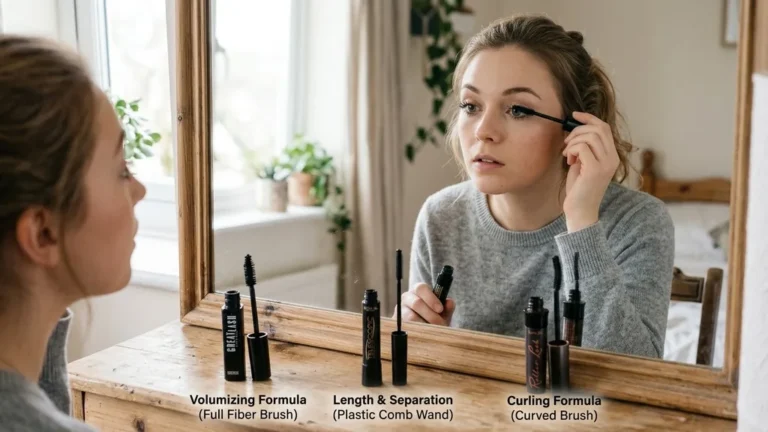
Consider the type of brush included in your kit. Some brushes are designed for volume, while others are built for separation. If your favorite mascara formula is great but the brush is too large or dense, you can use a clean, disposable spoolie brush to apply the product instead.
By transferring the mascara from the original wand to a clean spoolie, you have total control over the amount of product being applied to your lashes. This is a pro-level tip that ensures you get the benefits of the formula without the drawbacks of a poorly designed applicator.
Addressing Topical Gaps: The Role of Humidity and Temperature
A frequently overlooked factor is the environment in which you apply your makeup. If you are in a high-humidity environment or a very hot room, your mascara may take longer to dry, which increases the likelihood of smudging or clumping during the application. Conversely, if the air is very dry, the product may start to set too quickly.
Understanding how your environment affects your cosmetic products allows you to adjust your pace. For example, if you live in a humid climate, you might want to switch to a waterproof formula, which is designed to set faster and resist the moisture that can cause clumping.
Another common concern is whether you should “pump” the wand to get more product. Contrary to popular belief, pumping the wand into the tube does more harm than good. It forces air into the container, which accelerates the oxidation of the formula and causes it to dry out prematurely.
Instead of pumping, use a gentle swirling motion inside the tube to pick up the product. This keeps the formula fresh for longer and ensures that you aren’t introducing unnecessary air bubbles that lead to a flaky, clumpy finish. For more information on maintaining eye health while using makeup, consult the American Academy of Ophthalmology guidelines for safe beauty practices.
Choosing the Right Formula for Your Lash Type
Not all mascaras are created equal, and the formula you choose should match your specific lash needs. If you have thin, sparse lashes, you might be tempted to reach for a thick, volumizing formula, but these are often the most prone to clumping. These formulas contain high concentrations of waxes and pigments designed to coat the lash heavily.
If you struggle with clumping, look for “lengthening” or “defining” formulas instead. These typically have a thinner, more fluid consistency that coats each hair individually without adding the bulk that leads to clumping.
It is also helpful to understand the components of your mascara. Most contain waxes, oils, and pigments. Some formulas use synthetic polymers to help the product grip the lash, which is great for hold but can become tacky if layered too many times.
If you find your current mascara is too thick, you can try warming the tube in your hands for a minute before application. The heat from your body helps to soften the waxes, making the formula smoother and easier to distribute.
Table: Comparing Mascara Application Strategies
| Strategy | Benefit | Best For |
|---|---|---|
| Wiggle Motion | Deposits pigment at the root | Building volume |
| Tissue Wipe | Removes excess product | Preventing spider lashes |
| Spoolie Tool | Provides maximum separation | Fine or sparse lashes |
| Curling First | Lifts and separates lashes | Flat or straight lashes |
Post-Application Grooming and Maintenance
Even with the best technique, you might occasionally end up with a small clump. This is where a clean, dry spoolie or a metal lash comb becomes your best friend. Immediately after applying the final coat, while the mascara is still slightly damp, run the comb through your lashes from the root to the tip.
This action breaks up any minor clusters of product and ensures that each lash is perfectly separated. If you wait until the mascara is completely dry to do this, you risk flaking the product off or breaking your lashes, so timing is critical.
Maintaining your tools is just as important as the application itself. If you use a metal lash comb, wipe it down with alcohol after every use to prevent bacteria buildup. If you prefer disposable spoolies, make sure to replace them regularly.
A clean tool is essential for a clean look. When you commit to these grooming habits, you ensure that your lashes look intentional and polished every single time you apply your makeup, rather than looking like a rushed or messy attempt at definition.
Advanced Tips for a Natural Look
If you prefer a natural, “no-makeup” look, you don’t necessarily need to coat your lashes from root to tip with every application. You can focus the product primarily on the roots to define the lash line, then use a light touch to sweep the remaining product toward the tips.
This creates the illusion of thicker, more defined lashes without the weight of excess formula. Another trick is to use a brown or soft black shade rather than an intense, jet-black formula, as softer colors are naturally more forgiving if you do happen to have minor clumping.
Finally, remember that less is often more. You don’t need to apply five layers of product to achieve a dramatic look. Many modern formulas are highly pigmented, meaning a single, well-applied coat is often sufficient.
If you feel the need for more volume, wait at least sixty seconds for the first coat to dry before applying a second. Adding a second coat while the first is still wet is the most common cause of clumping. By giving the product time to set, you build a stable foundation that can handle a second layer without losing definition or clarity.
Frequently Asked Questions
- Why are my eyelashes clumping when I apply mascara? Clumping usually occurs when there is too much product on the wand, or you are layering new coats over already dry mascara. Using an old, dried-out formula or failing to separate your lashes with a comb during the application process also contributes significantly to this messy result.
- What can you put in mascara to make it not clumpy? You can place the closed tube in a cup of warm water for a few minutes to soften the wax. Avoid adding water or oils directly into the tube, as this can introduce bacteria and ruin the preservation system of the formula, potentially causing eye infections.
- What is the correct way to apply mascara? Start by wiping excess product off the wand. Place the brush at the base of your lashes, wiggle it horizontally to build volume at the root, and then pull it upward in a smooth, slow motion. Use a clean lash comb immediately afterward to ensure perfect separation.
- What mascara doesn’t leave clumps on my lashes? Look for mascaras labeled as “defining” or “lengthening” with thinner, water-based formulas. These contain fewer waxes than volumizing versions, making them less likely to build up in heavy clumps. A brush with shorter, plastic bristles is often more effective at separating lashes than a large, fluffy brush.