
Creating cosmetic products at home is a fascinating intersection of chemistry, artistry, and personal preference. When you ask how do you make mascara, you are essentially inquiring about the delicate balance of pigments, binders, and waxes required to create a substance that adheres to delicate lashes while remaining safe for the sensitive eye area.
While mass-produced products rely on industrial-grade emulsifiers and preservatives, a homemade mascara approach focuses on simplicity, using accessible pantry staples to achieve a darkening and thickening effect. Understanding the underlying physics of how these components interact is the first step toward mastering the craft of DIY beauty.
Understanding the Core Components of Mascara
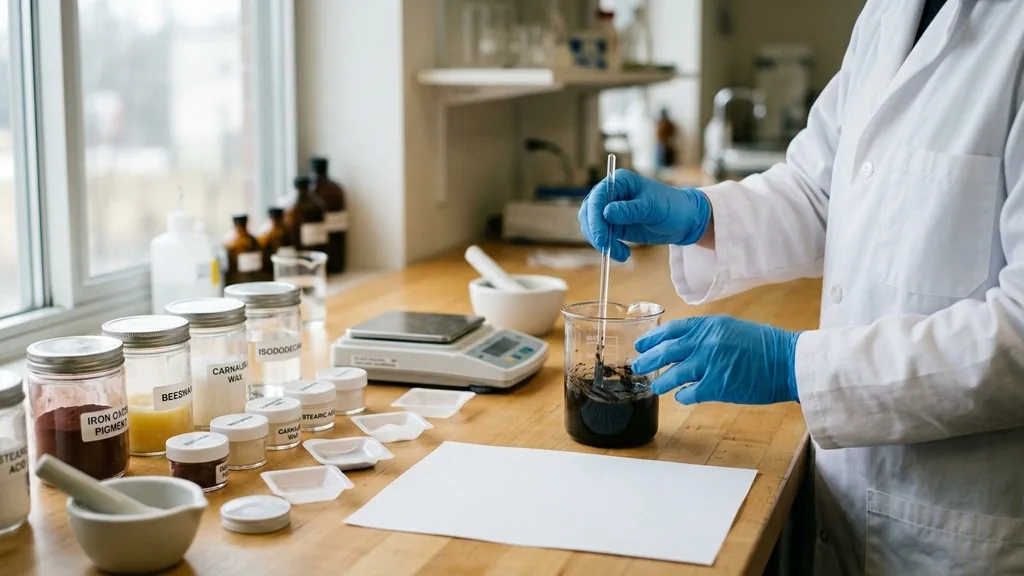
At its most basic level, mascara is a suspension of pigment within a carrier medium. To answer how do you make mascara effectively, you must understand that the formulation needs to be thick enough to coat the hair shaft without clumping, yet fluid enough to be applied with a wand. The primary ingredients typically fall into three categories: pigments for color, waxes for structure, and oils or water for consistency.
Most commercial and natural mascara recipes rely on a base of oil or wax to hold the pigment in place. Without these binders, the color would simply flake off within minutes of application. When you make your own version, you are creating a simplified emulsion.
You need a stable pigment—usually activated charcoal or iron oxides—to provide that deep black finish that defines the lashes. The texture is controlled by the ratio of these solids to your liquid base. Getting this balance right is the difference between a product that glides on smoothly and one that feels dry, crumbly, or overly greasy upon application.
The Chemistry of Pigments and Binders
The visual impact of mascara comes down to the quality and concentration of your pigment. When you source ingredients, you are looking for fine, cosmetic-grade powders that won’t irritate the eyes. Activated charcoal is a popular choice for homemade mascara because of its intense absorption properties and deep color profile. However, it is essential to ensure that any powder you use is finely milled; coarse particles can be abrasive to the cornea and cause significant discomfort or scratching.
Binders are the unsung heroes of your recipe. Beeswax or candelilla wax provides the structural integrity that allows the mascara to hold a curl and resist smudging. When these waxes are melted and combined with a carrier oil, such as coconut or almond oil, they create a hydrophobic film.
This film is vital because it prevents the mascara from running when you encounter moisture. If you are interested in the scientific standards for cosmetic safety, you can learn more about regulations for cosmetic ingredients through the official government guidelines provided by the FDA. Understanding these safety standards is crucial before applying anything near your ocular tissues.
Step-by-Step Guide to Formulating Your Own Mascara
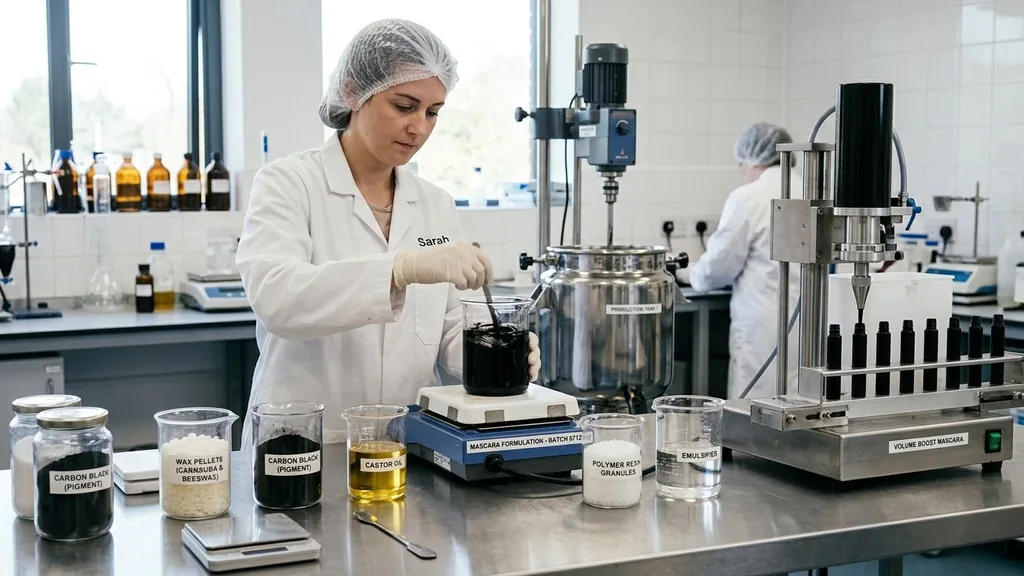
If you have decided to move forward with a DIY mascara project, the process involves careful measurement and hygienic preparation. You will need a clean container, a sterilized mixing tool, and your selected ingredients. Start by melting your wax base in a double boiler to ensure even heating.
Once the wax is liquid, slowly incorporate your carrier oils. The goal is to create a homogenous mixture before adding your dry pigment.
- Sterilize all equipment with isopropyl alcohol to prevent bacterial growth.
- Measure your wax and oil base using a precise digital scale for consistency.
- Whisk the pigment into the warm oil mixture until completely smooth.
- Allow the mixture to cool slightly before transferring it to your storage tube.
- Use a syringe to fill the mascara tube, ensuring you don’t trap large air bubbles.
The cooling process is where the texture truly develops. As the wax begins to set, the viscosity of your homemade mascara will change significantly. It is best to work in small batches.
Because you are likely not using industrial-strength preservatives, the shelf life of a homemade product is significantly shorter than store-bought varieties. Treating your creation as a perishable item ensures you maintain the highest level of eye safety.
Choosing the Right Oils for Your Recipe
The type of oil you choose for your recipe dictates the final performance of the mascara. Some oils are heavier and provide a more dramatic, glossy finish, while others are lightweight and dry down faster.
Coconut oil is a classic choice for many because of its solid state at room temperature, which helps stabilize the formula. However, if you find coconut oil too comedogenic or heavy, sweet almond oil or jojoba oil are excellent alternatives that offer nourishment to the lash hair.
When you use these oils, consider their viscosity. A thinner oil will result in a more liquid mascara, which might be easier to apply but prone to smudging if you have hooded eyelids. A thicker oil, when combined with a sufficient amount of wax, creates a more “water-resistant” barrier.
You may need to experiment with different oil-to-wax ratios to find the perfect consistency for your specific lash type. Remember that the goal is to coat the lashes without weighing them down, as excessive oil can cause the curl to drop rapidly.
Addressing Common Topical Gaps in DIY Beauty
One common question many people have is how to achieve a waterproof effect without synthetic polymers. The truth is that true waterproof mascara is extremely difficult to replicate at home because it relies on specific volatile siloxanes and film-forming agents that are not consumer-accessible. If you are looking for a long-wear effect, you must rely on the natural water-resistance of waxes like beeswax.
Another gap in knowledge is the issue of preservatives. Many online recipes suggest using essential oils or Vitamin E as preservatives. While these can help prevent oils from going rancid, they are not broad-spectrum antimicrobial agents.
They will not prevent the growth of mold or bacteria once the mascara is exposed to the air and the moisture of your eyes. To bridge this gap, focus on strict hygiene: change your mascara every two to four weeks, never share your wand, and discard the product immediately if it develops an unusual odor or color change. This is the only way to safely make and use a product without lab-grade preservatives.
Comparing Commercial vs. Homemade Mascara Ingredients
It is helpful to look at the differences between the ingredients in a standard store-bought tube and those you might use in a home kitchen. The following table highlights the functional roles of typical ingredients found in both types of formulas.
| Ingredient Category | Common Commercial Agent | Typical DIY Substitute |
|---|---|---|
| Pigment | Iron Oxides / Carbon Black | Activated Charcoal / Cocoa Powder |
| Wax Base | Carnauba / Ozokerite | Beeswax / Candelilla Wax |
| Carrier | Isododecane / Water | Coconut Oil / Almond Oil |
| Preservative | Parabens / Phenoxyethanol | Vitamin E (Antioxidant only) |
As you can see, the commercial ingredients are often chosen for their extreme longevity and stability in varied temperatures. Your homemade mascara is a living, changing substance.
It will perform differently depending on the ambient temperature of your room and the freshness of your ingredients. By understanding these substitutions, you can better manage your expectations regarding how the product will look and feel throughout the day.
Troubleshooting Your Mascara Texture
If your homemade mascara feels too thin, you have a few options to improve the body of the formula. You can add a tiny amount of additional wax or a thickening agent like bentonite clay. Be careful, however, as too much clay can make the mascara feel gritty or chalky.
If the product is too thick and won’t come out of the tube, you may need to increase the ratio of liquid oil. Finding the right consistency is an iterative process that requires testing the product on a clean surface before applying it to your eyes.
Application is equally important. If your mascara is clumping, it may be due to the temperature of the wax or the quality of the brush. Sometimes, the wand is the issue rather than the formula itself.
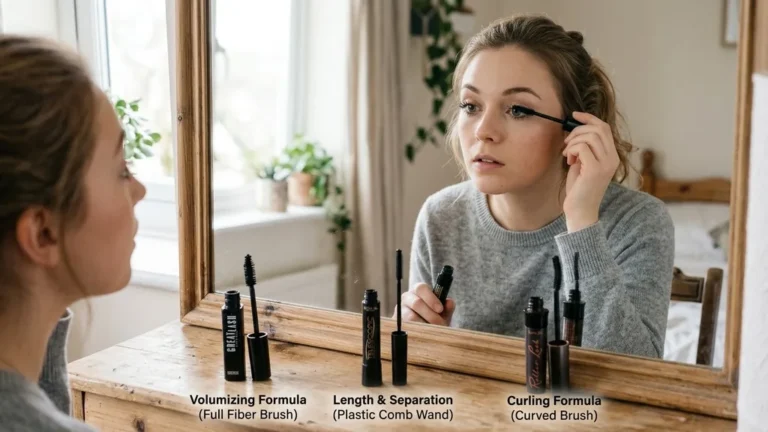
If you are struggling with application, consider repurposing a high-quality wand from a finished commercial mascara. Clean it thoroughly with soap and water, let it dry completely, and use it with your DIY mascara. The engineering of the brush is just as important as the formulation of the pigment itself.
Safety Considerations for Eye Health
Working with the area around the eyes requires extreme caution. The eye is a mucous membrane and is highly susceptible to infection. When you make your own cosmetics, you bypass the rigorous microbiological testing that commercial products undergo.
This means the responsibility for safety rests entirely with you. Never use ingredients that are not labeled as cosmetic-grade. For example, do not use charcoal briquettes meant for grilling; they contain chemical additives and binders that are toxic and should never touch your skin.
Always perform a patch test on your inner forearm before using a new formula on your eyes. Wait at least 24 hours to check for any signs of redness, itching, or irritation.
If you wear contact lenses, be even more cautious, as particles from homemade products can easily get trapped behind the lens, leading to severe irritation or corneal abrasions. If you notice any discomfort while wearing your homemade mascara, remove it immediately using a gentle oil-based cleanser and contact an eye care professional if the irritation persists.
Frequently Asked Questions
- Is it safe to use activated charcoal in mascara? Yes, provided you use high-quality, food-grade or cosmetic-grade activated charcoal. Ensure it is finely milled and free of additives. Avoid any charcoal intended for industrial or grilling purposes, as these contain harmful chemicals that can cause severe eye irritation or damage.
- How long does homemade mascara last? Because homemade versions lack professional-grade, broad-spectrum preservatives, they have a very short shelf life. You should aim to use and discard your homemade mascara within two to four weeks to minimize the risk of bacterial growth and potential eye infections.
- Can I make mascara without using wax? You can create a liquid eyeliner or a very thin lash tint using only oils and pigment, but it will not provide the structure or hold required for a traditional mascara. Wax is essential for the thickening, curling, and smudge-resistant properties that most people expect from mascara.
- How do I get the mascara out of the tube? To fill a clean mascara tube, use a small syringe or a plastic bag with a tiny corner cut off to pipe the mixture into the container. Work while the mixture is still slightly warm and fluid, but be careful not to burn yourself during the transfer process.