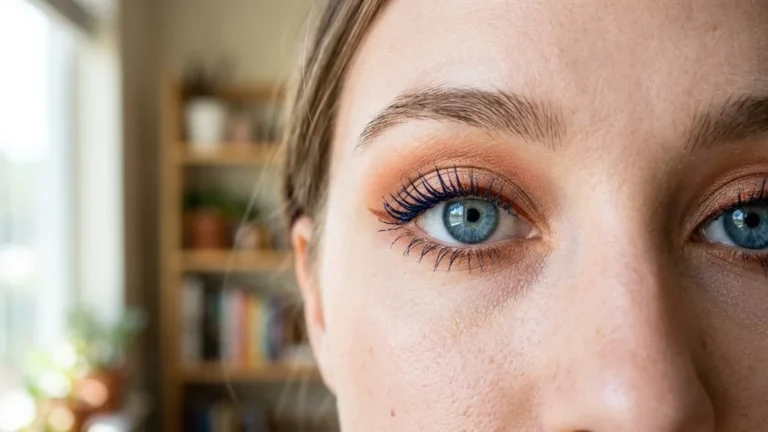

Mastering the art of eye makeup starts with understanding how to use mascara effectively. While it may seem like a simple swipe-and-go process, achieving that perfect, wide-eyed look requires a combination of the right tools, proper technique, and an understanding of your unique lash anatomy. Whether you are aiming for a dramatic, voluminous effect or a soft, natural flutter, the way you maneuver your wand changes everything.
Selecting the Right Mascara Formula for Your Lashes
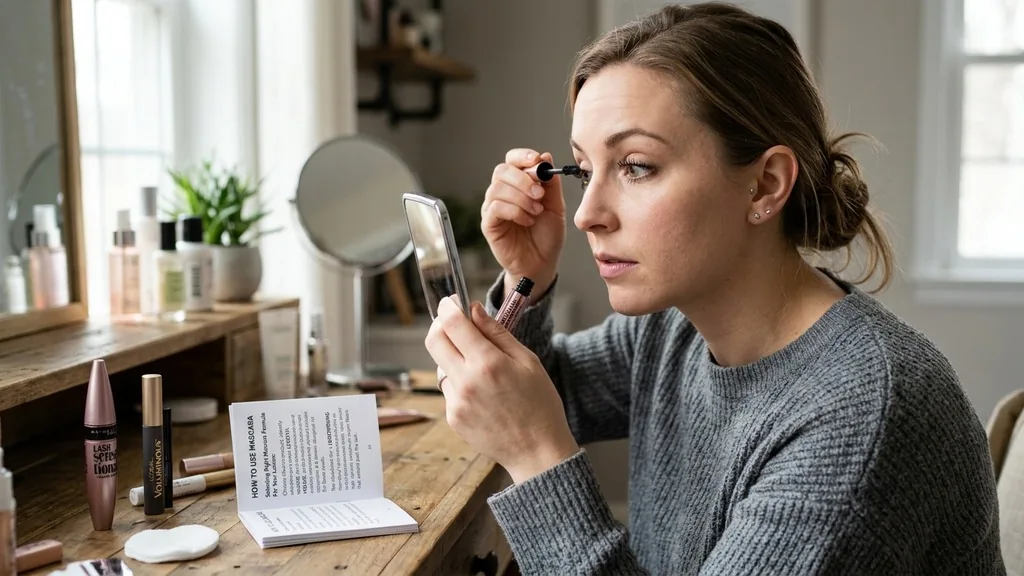
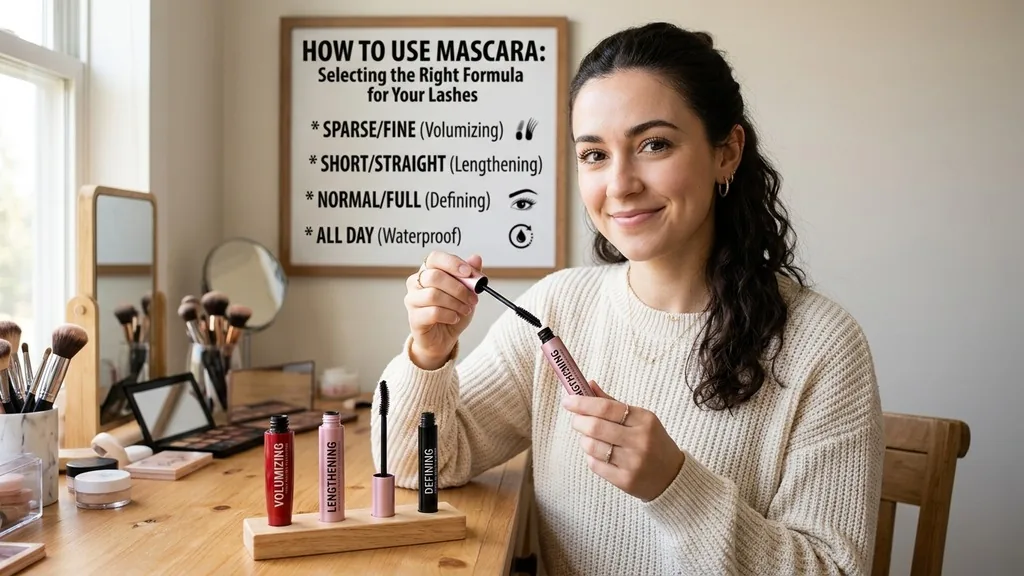
To choose the best product, identify whether you need length, volume, or hold, as different formulas contain specific polymers and waxes designed for these results. You should look for a lengthening formula if your natural lashes are short, as these typically contain nylon or rayon fibers that extend past the lash tips.
If your lashes are thin or sparse, a volumizing mascara is your best friend. These formulas are generally thicker and contain more pigment and building agents, which coat the individual hair to create the illusion of density.
For those who struggle with straight lashes that refuse to hold a curl, a waterproof mascara is essential. Unlike water-soluble options, waterproof versions contain volatile solvents that hold the curl in place once the product dries.
However, these formulas can be tougher on your delicate eye area during cleansing, so reserve them for events or humid climates where longevity is non-negotiable. Always check the ingredients list if you have sensitive eyes, as some additives can cause irritation.
The Essential Role of the Eyelash Curler
Using an eyelash curler before applying product is the most critical step for opening up your eyes and making your lashes look longer. You should position the curler at the base of your upper lashes, ensuring you do not catch the skin of your eyelid, and gently squeeze for about ten seconds. Avoid pumping the curler repeatedly, as this can crimp the hairs rather than creating a smooth, upward sweep.
Many beginners skip this step, but the difference it makes is profound. By creating a base lift, you ensure that the mascara isn’t just weighing down straight lashes, which can actually make your eyes look smaller.
If you want an even more dramatic effect, heat your metal eyelash curler with a hair dryer for a few seconds—but be extremely careful to test the temperature on your hand first to avoid burns. This heat-setting technique acts like a curling iron for your hair, locking the shape in place much longer than a standard cold curl.
Perfecting the Zig-Zag Motion for Volume
The zig-zag motion is the industry-standard technique for achieving a clump-free application that evenly distributes product from root to tip. As you pull the mascara wand through your lashes, move it back and forth in a tight, horizontal vibration. This motion allows the bristles to get right into the lash root, where the product is most needed to provide structure and lift.
By wiggling the brush at the base, you deposit the bulk of the pigment where the lashes are thickest, which prevents the tips from becoming overloaded and heavy. If you simply pull the wand straight up, you risk missing the base entirely, leaving the bottom portion of your lashes bare while the ends get clumpy.
Practice this motion slowly. You will find that the more control you have over the tiny vibrations, the more separated and defined your lashes will appear.
How to Apply Mascara Without Clumping
Clumping usually happens when you apply too many layers too quickly or when your wand is clogged with old, dried-up product. To avoid this, always wipe the excess mascara off the wand onto a tissue before bringing it near your eye. This simple act of removing the “glob” at the tip of the applicator prevents blobs of mascara from landing on your lashes.
If you do notice small clumps forming, keep a clean spoolie brush on hand. Run the clean spoolie through your lashes while the mascara is still wet to comb out any excess product and ensure perfect lash separation. This tool is often overlooked, but it is the secret weapon of professional makeup artists.
Think of it as a fine-tooth comb for your eyes. If you find your mascara is getting tacky or clumpy, it might be time to replace the tube; most formulas have a lifespan of only three months to prevent bacterial growth.
Targeting the Lower Lash Line
The lower lash line requires a much lighter touch than your upper lashes, as the skin here is thinner and more prone to eyelid smudging. To apply product to these delicate hairs without creating a raccoon-eye effect, hold your wand vertically rather than horizontally. This allows you to use the very tip of the brush to coat each tiny lash individually.
If you have very long lower lashes, consider using a waterproof formula specifically for the bottom to ensure the product doesn’t transfer onto your under-eye concealer throughout the day. If you struggle with smudging regardless of the formula, apply a light dusting of translucent setting powder under your eyes before you start. This creates a dry surface that prevents the oils in your skin from breaking down the mascara and causing it to migrate downward.
Troubleshooting Common Mascara Mistakes
Even the most experienced makeup users run into issues like uneven application or accidental smudges on the eyelid. If you accidentally get a dot of mascara on your skin, do not try to wipe it off immediately while it is wet, as this will only smear it further.
Instead, let it dry completely. Once the product has hardened, you can easily flick it off with a clean, dry cotton swab or a spoolie brush without ruining your eyeshadow.
Another common issue is the “spider lash” look, which occurs when lashes stick together in thick clusters. This is almost always caused by applying a second coat after the first has already dried. If you want to layer your mascara for a bolder look, apply the second coat while the first is still slightly tacky.
If you wait too long, the second layer will drag and pull the dry layer, leading to messy clumps. For more technical details on maintaining eye health while using cosmetics, you can review the guidelines on eye cosmetic safety provided by the FDA.
Comparing Different Mascara Wand Types
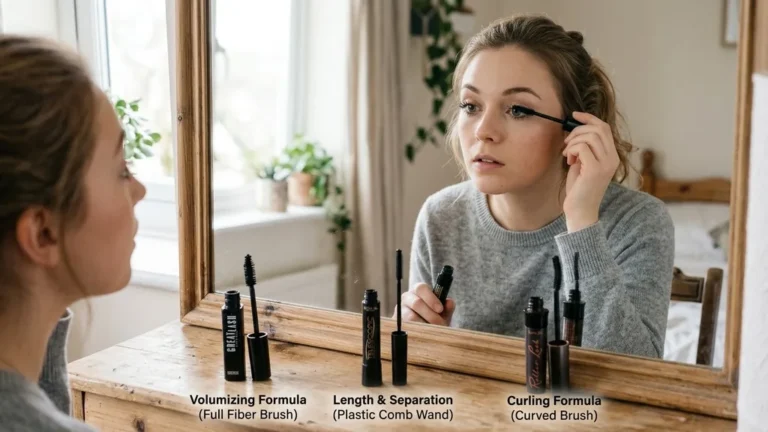
The shape and material of the applicator brush significantly impact the final look of your lashes. Choosing the right one depends on your natural lash length and your desired outcome.
| Brush Type | Best For | Primary Benefit |
|---|---|---|
| Rubber Bristles | Short, fine lashes | High precision and separation |
| Large, Fluffy Wands | Sparse lashes | Maximum volume and density |
| Curved Wands | Straight lashes | Helps lift and curl at the root |
| Tapered/Pointed Wands | Lower lashes/Corners | Accessing hard-to-reach areas |
Understanding these differences helps you make informed purchases. If you have naturally long lashes, a rubber-bristled wand will help keep them separated and defined. Conversely, if you are looking for that false-lash effect, a large, dense, bristled wand will hold more product and deposit it heavily for a dramatic, voluminous look.
Proper Techniques for Makeup Removal
The final, and perhaps most important, step in the process is makeup removal. Leaving mascara on overnight is a leading cause of lash breakage and eye irritation. Because mascara is designed to be water-resistant or waterproof, simple soap and water often aren’t enough to dissolve it effectively.
Use a dedicated eye makeup remover or a high-quality micellar water. Saturate a cotton pad, hold it against your closed eyelid for thirty seconds, and let the product break down the mascara bonds.
Gently swipe downward—never rub back and forth, as this pulls on the delicate skin and can cause your natural lashes to fall out prematurely. If you use a fiber mascara, which contains tiny synthetic particles to build length, it is especially important to be thorough, as these fibers can scratch the surface of the eye if left behind during sleep.
Addressing Topical Gaps: Natural-Looking Lashes
Many users want to know how to use mascara to look like they aren’t wearing any, a style often referred to as the “no-makeup makeup” look. To achieve this, avoid heavy, volumizing formulas that create thick, dark coats. Instead, opt for a clear mascara or a brown-tinted formula that simply defines the lashes without adding too much weight or intensity.
Another trick for a natural finish is to apply mascara only to the roots of the lashes, leaving the tips bare. This gives the appearance of a fuller lash line, like the effect of a tight-lined eyeliner, without the obvious dark coating on the hair itself.
If you decide to go with a tinted formula, choose a color that is one to two shades darker than your natural lash color. This adds subtle definition that looks soft and intentional rather than heavy or artificial.
Frequently Asked Questions
- How many swipes of mascara should I do? Generally, two coats are sufficient for most looks. Apply the first coat, wait about 30 seconds for it to become tacky, then apply the second. Adding more than two coats often leads to clumping and makes the lashes look brittle or heavy.
- Do you put mascara on both sides of your lashes? Yes, applying mascara to the back of your top lashes can provide a much fuller look. By coating the top side, you darken the entire lash and create a more uniform, voluminous appearance, especially if your natural lashes are very light or blonde.
- Should mascara be applied first or last? Mascara should always be the final step in your eye makeup routine. Applying it before your eyeshadow can result in powder falling onto your wet lashes, making them look dusty and dull. Always finish your shadow and eyeliner, then curl your lashes and apply mascara.
- How do I stop my mascara from smudging? To prevent smudging, ensure your eyelids are oil-free before application by using a light dusting of translucent powder. If you have oily skin, consider using a tubing mascara, which creates tiny “tubes” around each lash that won’t smear or run throughout the day.
Mastering the use of mascara is a journey of trial and error, but once you identify the right combination of tools and techniques, it becomes an effortless part of your daily routine. Focus on the base of your lashes, keep your tools clean, and never underestimate the power of a good lash curl. With these habits, you can achieve professional-looking results every single time you reach for your favorite tube.