
Mastering how you put on mascara is one of the most transformative skills in your makeup routine. It is the bridge between a tired appearance and a vibrant, wide-awake look.
While it seems straightforward, the difference between messy, clumpy lashes and a fluttery, defined fringe often comes down to technique, tool choice, and patience. Whether you are a beginner looking to understand the basics or someone seeking to refine their application to avoid smudges and flakes, the secret lies in understanding how the product interacts with the structure of your eye and the texture of your hair.
Understanding the Anatomy of Your Eyelashes
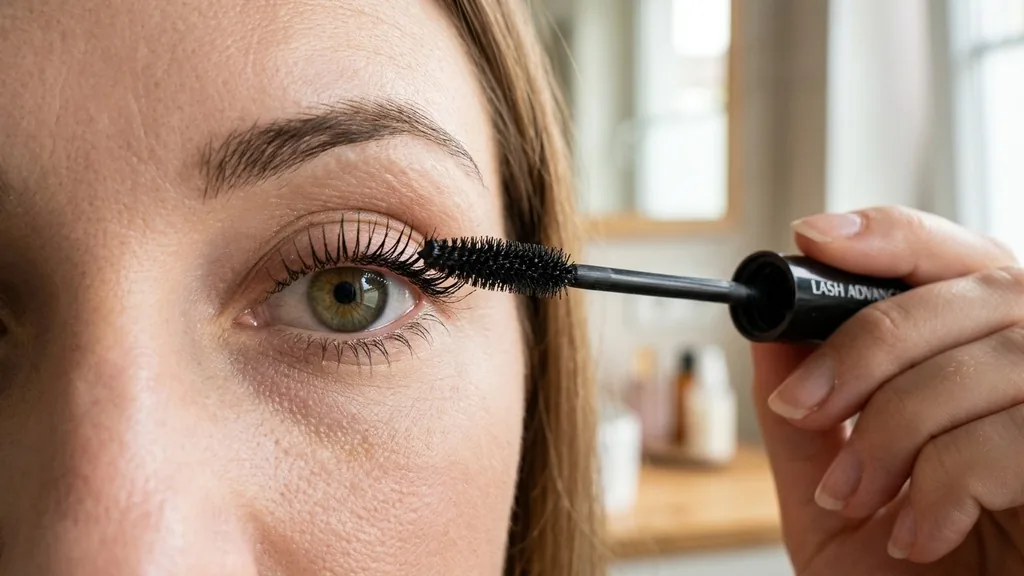
To truly understand how you put on mascara, you must first recognize the anatomy of your lashes and how they respond to cosmetic products. Your eyelashes are hair follicles that grow along the edge of the eyelid, designed to protect the eye from debris.
Because they are curved and delicate, they require a specific approach to ensure they are coated evenly without being weighed down. The goal is to deposit pigment at the root, which provides the illusion of density, while thinning the product out toward the tips to maintain a natural, fluttery appearance.
Most beginners make the mistake of focusing only on the tips of the lashes. This creates a heavy, drooping effect that can actually make your eyes look smaller. Instead, envision your lashes as having three distinct zones: the base, the middle, and the tip.
By concentrating the bulk of your product at the base, you create a foundation that holds the curl and provides the volume you desire. This technique also helps to frame the entire eye, making the lash line appear fuller and more defined.
The Essential Tools for Perfect Application
Before you even touch your mascara tube, you need to ensure you have the right tools. The most important instrument is the mascara wand itself, but your preparation tools are equally vital.
A high-quality curler is non-negotiable if you want to achieve a lifted, open-eye effect. Many people skip this step, but curling your lashes before you apply makeup is the single most effective way to change the shape of your eye.
Beyond the curler, consider having a clean spoolie or a metal lash comb on hand. These tools are the secret weapons of professional makeup artists. If you find yourself dealing with minor clumping, a metal comb can separate the lashes while the product is still slightly wet.
Never use a plastic toothpick or a pin to separate lashes, as these pose a significant risk to your eye health. Investing in a dedicated lash comb is a safe and effective way to ensure your makeup application remains clean and professional throughout the day.
Step-by-Step Guide to Applying Mascara
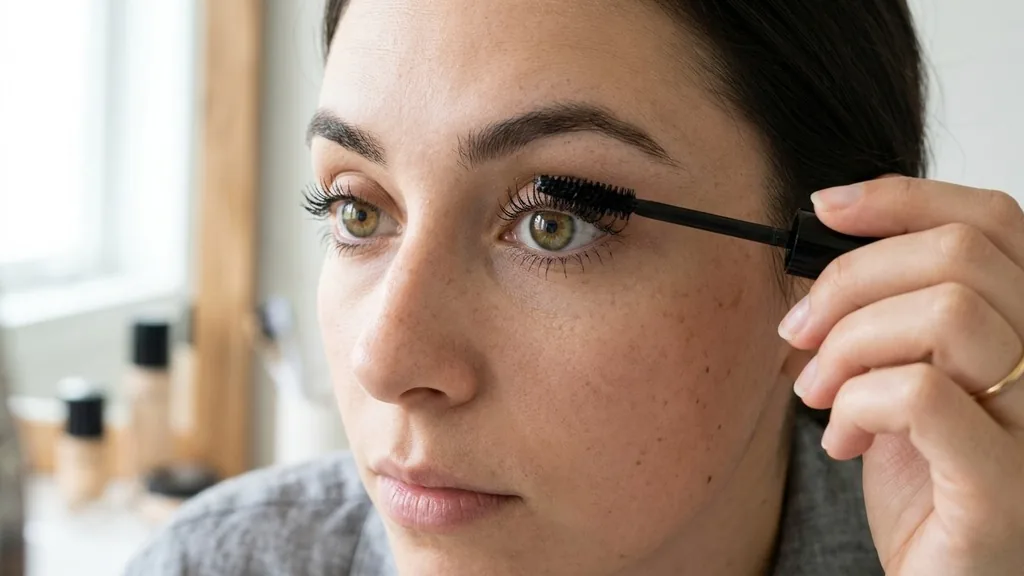
When you sit down to apply your product, the process should be deliberate and controlled. Start by looking down into a mirror.
This position exposes the entire length of your lashes and makes it easier to reach the roots without getting product on your eyelid. If you struggle with smudging, this simple postural adjustment can solve the problem almost immediately.
- Wipe the excess: Before touching your lashes, wipe the wand against the rim of the tube to remove globs of product.
- The wiggle: Place the wand at the very root of your lashes and wiggle it back and forth horizontally before pulling it through to the tip.
- The lift: As you reach the ends, gently pull the wand upward and slightly outward toward the outer corner of the eye to create a fanned-out effect.
- Layering: If you desire more volume, apply a second coat while the first is still slightly tacky, but avoid waiting until it is completely dry to prevent flaking.
The “wiggle” technique is critical because it deposits the maximum amount of pigment at the base, which acts like a structural support for the rest of the lash. By pulling the wand through in a slow, steady motion, you ensure that every individual hair is coated from root to tip. If you rush this step, you are more likely to create clumps, as the product will gather unevenly on the lashes.
Choosing the Right Formula for Your Needs
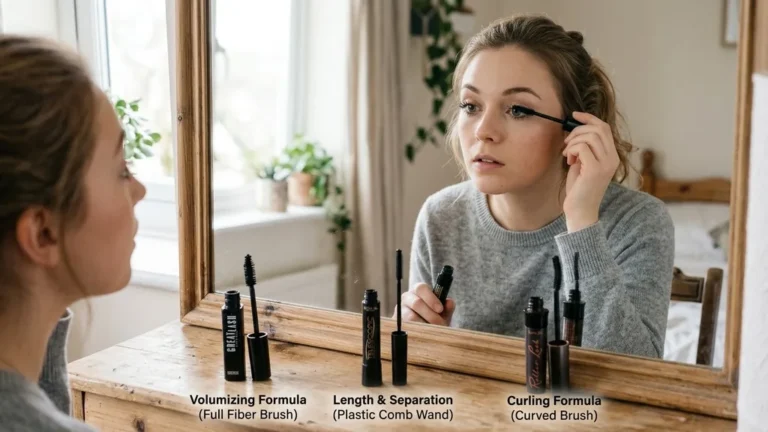
Not all products are created equal, and knowing how you put on mascara effectively often depends on the specific formula you choose. If your lashes are naturally straight, you may find that a waterproof formula holds a curl better than a traditional water-based one. However, waterproof formulas can be drying and harder to remove, so they should be used with caution.
For those interested in the science behind these products, the FDA provides guidelines on eye cosmetic safety, which is a helpful resource for understanding what ingredients you are putting near your eyes. Always check for expiration dates; mascara is typically the first makeup item that should be replaced, usually every three months, to prevent bacterial buildup. If you notice a change in smell, texture, or if you develop any eye irritation, stop using the product immediately.
| Mascara Type | Best For | Key Benefit |
|---|---|---|
| Volumizing | Thin or sparse lashes | Creates thicker-looking lash lines |
| Lengthening | Short lashes | Extends the appearance of the tips |
| Waterproof | Oily lids or humid climates | Prevents smudging and holds curl |
| Tubing | Sensitive eyes | Easy removal with warm water |
Techniques for the Bottom Lash Line
Many people find bottom lashes intimidating, but they are essential for balancing the look. The bottom lash line defines the lower part of the eye and can make the eyes appear larger and more “doll-like.”
However, because the skin under the eye is thin and prone to oil, bottom lashes are notorious for causing smudges. To prevent this, use a smaller wand or a specialized bottom-lash mascara.
If you don’t have a smaller brush, you can use the very tip of your regular wand. Hold the wand vertically and gently tap the bristles against the bottom lashes. This gives you much more control than holding the wand horizontally, which can easily deposit too much product on the lower skin.
If you do get a smudge, wait for it to dry completely before attempting to remove it. Trying to wipe away wet mascara will only smear it further; once it is dry, you can simply flick it off with a clean, dry cotton swab.
Troubleshooting Common Mascara Mistakes
Even with the best technique, things can go wrong. Clumping is the most common complaint, usually caused by old product or applying too many layers too quickly.
If you notice clumps, grab a clean, dry spoolie brush and comb through your lashes while the mascara is still wet. This removes the excess product and separates the lashes, giving you a clean, defined finish.
Another common issue is “spider lashes,” where several hairs stick together. This often happens if the mascara formula is too thick or if you have applied too much pressure with the brush. To avoid this, always start with a clean wand.
You can also try using a lash primer. A primer coats the lashes in a white or clear base, which adds thickness and length, allowing the black mascara to glide on smoothly without clumping. It acts as a buffer that makes your lashes mascara application look much more professional and seamless.
How to Remove Mascara Properly
Knowing how you put on mascara is only half the battle; knowing how to remove it is just as important for the long-term health of your lashes. Harsh rubbing is the enemy of lash health.
If you pull or tug at your lashes during removal, you risk breaking them or causing them to fall out prematurely. Instead, use an oil-based makeup remover or a gentle micellar water specifically designed for the eye area.
Saturate a cotton pad with the remover and hold it against your closed eye for about 20 to 30 seconds. This allows the oil to dissolve the pigments in the mascara. Once the product has softened, gently wipe downward.
You should not need to scrub. If you find that mascara residue remains, repeat the process with a fresh cotton pad. Proper removal ensures that your lashes stay strong and healthy, which in turn makes your next application of mascara much easier.
Answering Topical Gaps: Advanced Tips for Beginners
One common question involves whether you should apply mascara before or after other eye makeup. Generally, it is best to apply eyeshadow and eyeliner first. If you apply mascara first, you will likely get eyeshadow powder on your wet lashes, which creates a dusty, dull appearance.
By saving mascara for the final step, you ensure the pigment remains deep black and glossy. Furthermore, if you are using a curler, always curl your lashes before applying mascara. Using a curler on lashes that are already coated in dried mascara can cause them to snap or break under the pressure.
Another frequent concern is how many layers to apply. While there is no hard-and-fast rule, two coats are usually sufficient for a day-to-day look. If you are going for a dramatic evening look, you can add a third coat, but do so carefully.
The key is to add the additional layer before the first coat has completely hardened. If you try to add a third layer to dry, brittle lashes, you will almost certainly end up with flakes falling onto your cheeks by the end of the day.
Frequently Asked Questions
Should I apply mascara to both sides of my lashes?
While some makeup artists suggest coating the top of your lashes to add extra volume, it is generally unnecessary for beginners. Applying product to the tops can weigh the lashes down and ruin your curl. Focus on the underside for the best lift and definition.
Can I use a hair dryer to help my lashes curl?
You can gently warm your eyelash curler with a hair dryer for a few seconds to help set the curl, but be extremely careful. Test the metal on your skin first to ensure it isn’t too hot, as the delicate skin around your eye can burn easily.
How do I prevent my mascara from smudging throughout the day?
Smudging is usually caused by oils
Smudging is usually caused by oils from your skin or eye cream. Try dusting a little bit of translucent setting powder on your eyelids and under your eyes before applying your makeup. This absorbs excess oil and creates a dry surface that prevents the mascara from transferring.
What is the best way to fix a clumped-up lash?
The best way to fix a clump is to use a clean, dry spoolie or a metal lash comb. Gently brush through the lashes while the product is still wet to break up the excess pigment and separate the individual hairs for a clean, fanned-out result.