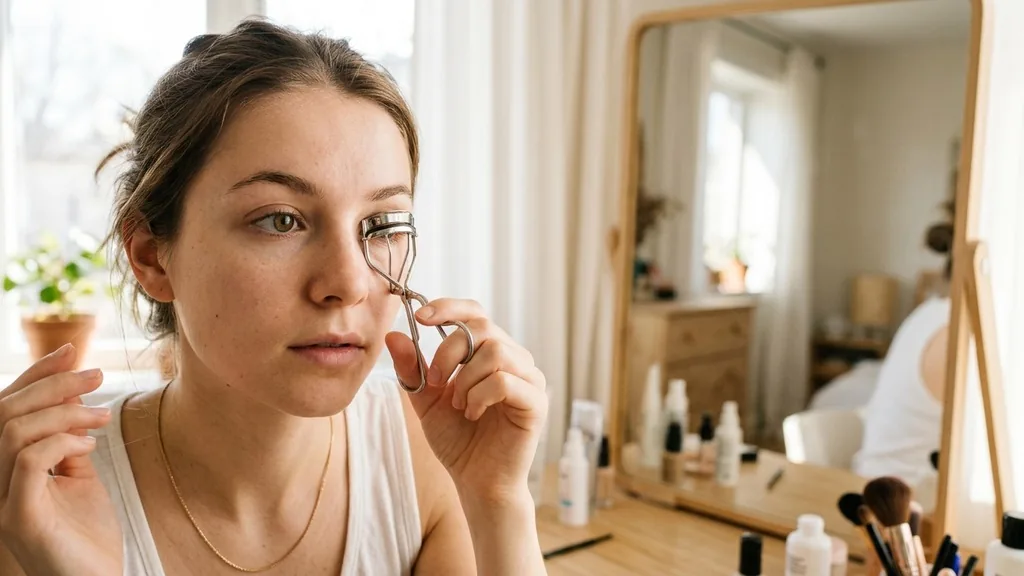
Achieving that wide-eyed, lifted look is a staple of most makeup routines, yet the debate over the correct sequence of steps remains a point of confusion for many beauty enthusiasts. When asking, do you curl lashes before or after mascara, the consensus among professional makeup artists is overwhelmingly in favor of curling before application.
Applying pressure with a mechanical tool to lashes coated in drying product can lead to breakage, clumping, and an uneven finish. By understanding the structural integrity of your eyelashes and the chemistry of modern cosmetic formulas, you can master a technique that maximizes volume and longevity without compromising the health of your delicate hairs.
Why Curling Before Mascara is the Gold Standard
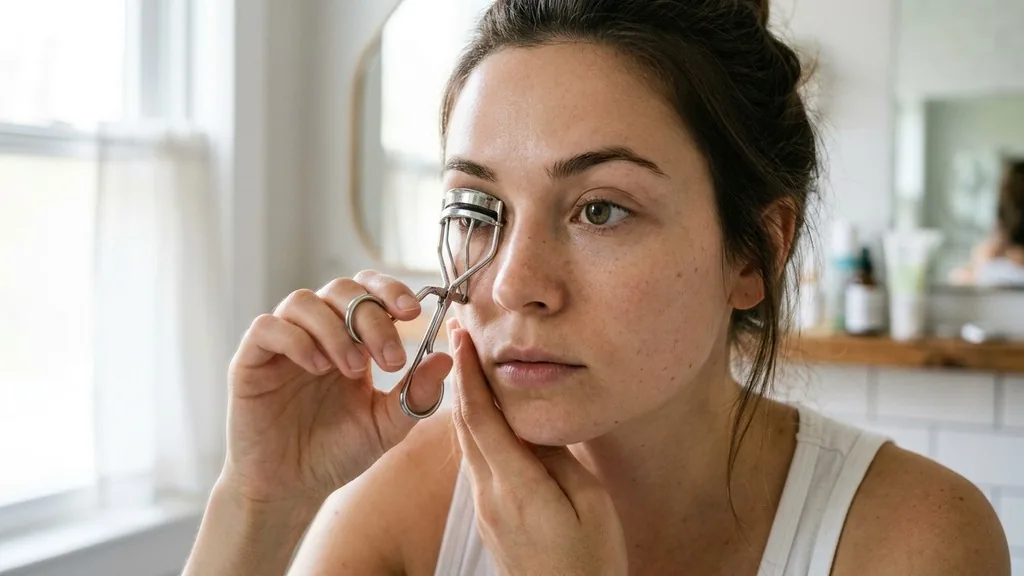
The primary reason experts advise using an eyelash curler before applying mascara is to preserve the health and shape of your natural lashes. When you curl your lashes while they are clean and bare, you are essentially molding the hair follicle into an upward position.
This creates a foundational lift that acts as a canvas for your eye makeup. Because the lashes are dry and flexible, they respond well to the pressure of the curler, holding the shape effectively once the mascara is applied to lock that curl in place.
Furthermore, applying a tool to lashes that are already coated in product creates a significant risk of physical damage. Mascara, by its very nature, is designed to set and harden. When you clamp a metal or plastic curler onto lashes that have already been treated with a formula, the lashes become brittle.
The force required to create a curl can cause the mascara-coated lashes to stick to the rubber pad of the curler, leading to tugging, pulling, or even the accidental snapping of the hair. By prioritizing the curl before the product, you ensure that the lashes remain supple and protected.
Beyond the safety aspect, the aesthetic result is almost always superior when curling first. A clean curler can reach the base of the lash line much more effectively than one that has to navigate around wet, sticky product. When you curl before, you have a clear view of the lash root, allowing you to get as close as possible to the eyelid without pinching.
This provides a more dramatic, root-to-tip lift that makes the eyes appear more open and awake. If you attempt to curl after, the mascara often gets transferred onto the curler itself, creating a messy buildup that requires frequent cleaning and can lead to uneven, clumpy lashes.
The Risks of Curling After Mascara Application
While some people mistakenly believe that curling after mascara provides a more intense hold, the reality is that it introduces several unwanted variables. Most mascaras contain waxes and polymers that are designed to dry into a firm film. When you attempt to curl these lashes, you are forcing a rigid structure to bend.
This often results in a sharp, unnatural “kink” rather than a smooth, sweeping arc. Instead of a natural-looking lift, you end up with lashes that look bent or broken at the middle, which can detract from the overall aesthetic of your eye makeup.
In addition to the potential for breakage, curling after mascara is a major culprit for clumping. As the curler compresses the lashes together, the wet product is squeezed into the gaps between hairs, causing them to adhere to one another in thick, spidery clusters.
This ruins the separation and definition that you likely spent time trying to achieve with your mascara wand. If you are using a volumizing or lengthening formula, the curler will disrupt the pigment distribution, creating patchy areas where the product has been wiped away or clumped onto the tool.
Hygiene is another often-overlooked factor. If you curl after applying mascara, the rubber pad of your eyelash curler will inevitably collect residue. Over time, this buildup of old, dried product and bacteria can become a breeding ground for germs.
If you do not clean your curler religiously after every single use—which is rarely practical in a daily routine—you are essentially pressing old bacteria back onto your lashes every morning. This increases the risk of eye infections and irritation, which is why keeping your tools clean and using them on bare lashes is the safest practice for long-term eye health.
Optimizing Your Technique for a Lasting Lift
To achieve the best results, your technique with the lash curler is just as important as the order in which you use it. Start by ensuring your curler is clean and that the rubber pad is in good condition; a worn-out pad can cut your lashes rather than curling them. Position the curler at the very base of your lashes, as close to the eyelid as you can comfortably get without pinching the skin.
Gently squeeze the curler for about five to ten seconds, then release. For an even more dramatic effect, you can move the curler slightly outward toward the middle of the lash and squeeze again, creating a soft, natural bend.
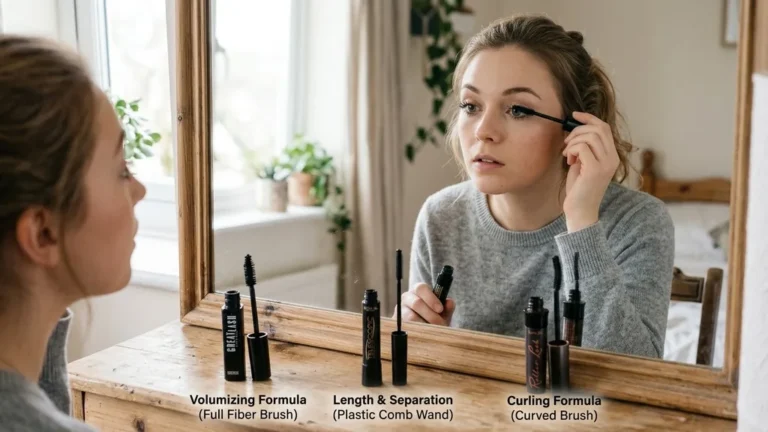
Once the lashes are curled, it is essential to apply your mascara promptly. The curl will hold best if the mascara is applied while the lashes are still in their newly molded position. Choose a formula that aligns with your desired look—lengthening, volumizing, or waterproof.
Waterproof mascara is particularly effective at holding a curl because it contains volatile solvents that evaporate quickly, locking the shape in place much faster than water-based alternatives. However, be mindful that waterproof formulas can be drying, so ensure you are using a nourishing eye makeup remover at the end of the day.
If you find that your lashes tend to lose their curl throughout the day, consider the weight of your mascara. Very heavy, oil-rich formulas can weigh down the lashes, causing them to droop shortly after application. If you struggle with this, try a lighter, “tubing” mascara or a formula specifically designed for holding a curl.
Additionally, you can heat your eyelash curler slightly with a hairdryer—though never make it hot to the touch—to create a “thermal” effect similar to a curling iron for your hair. This extra step helps the lashes hold their shape more securely throughout the day.
Comparison of Curling Methods
When evaluating the impact of your routine, it is helpful to look at the differences between curling before and after mascara. The following table highlights why the “before” method is the industry standard for both safety and aesthetic results.
| Factor | Curling Before Mascara | Curling After Mascara |
|---|---|---|
| Lash Health | High: No risk of tugging or breakage | Low: High risk of snapping or pulling |
| Product Finish | Smooth: Even application and separation | Clumpy: Product sticks to the curler |
| Tool Hygiene | Clean: Minimal residue buildup | Poor: High risk of bacterial accumulation |
| Shape Quality | Natural: Sweeping, uniform arc | Artificial: Potential for sharp kinks |
As demonstrated by the data, curling before mascara is the superior choice for anyone who values both the health of their natural lashes and the quality of their makeup application. The physical stress applied to the lashes when they are coated in a drying, tacky substance is simply too high to justify the marginal difference some users claim to see in the intensity of the curl. By following the “before” approach, you minimize the need for corrective makeup steps and protect your lash health from unnecessary damage that can lead to thinning over time.
Addressing Common Misconceptions and Topical Gaps
One common question that often arises involves the use of heated eyelash curlers. Some users believe that because these tools use heat, they must be used after mascara to “set” the product. This is a common misconception.
Heated tools are designed to encourage the hair cuticle to take a new shape through gentle warmth. Using them on bare lashes is just as effective and much safer than using them on coated ones. If you use a heated curler on mascara-coated lashes, you risk melting the product, which can lead to smudging, streaking, and a messy finish that is difficult to fix without removing your entire eye makeup look.
Another gap in common knowledge is the importance of the curler’s shape. Not all eye shapes are the same, and a curler that works for a deep-set eye may not be ideal for a hooded eye. If you are struggling to get a good curl, it might not be the timing of your mascara application, but the fit of the tool itself.
Investing in a curler that matches the curve of your lash line allows you to capture all your lashes in one go, preventing the need to “fix” the outer or inner corners after applying mascara. Finding the right tool is a foundational step in mastering your eye makeup routine.
It is also worth noting that for those with very straight or stubborn lashes, the type of mascara matters significantly. If you are curling before but still find that your lashes fall flat by midday, you might be using a formula that is too heavy. Many standard mascaras contain oils and waxes that act as a weight.
Switching to a formula that is specifically labeled as “curl-holding” or “lightweight” can make a massive difference. You can read more about the proper care for eye health and cosmetics to ensure your makeup choices support long-term lash vitality.
Maintaining Lash Health for the Long Term
Your lashes are delicate hairs that require just as much care as the hair on your head. Constant mechanical stress, such as aggressive curling or the use of harsh, waterproof mascaras, can lead to brittle lashes that break easily. To keep your lashes healthy, ensure that you are removing your mascara gently every single night.
Never rub your eyes aggressively, as this can cause premature lash fallout. Instead, use a dual-phase or oil-based makeup remover to dissolve the mascara, allowing it to slide off without the need for friction.
In addition to gentle removal, consider incorporating a lash serum into your nightly routine. These serums often contain peptides or conditioning agents that help strengthen the hair follicle, making your lashes more resilient to the daily wear and tear of makeup application.
When your lashes are healthy and hydrated, they will naturally hold a curl better, meaning you won’t have to rely on excessive force or high-heat tools to get the look you want. A healthy lash is a flexible lash, and flexibility is the key to a beautiful, long-lasting lift.
Finally, remember that tools have a lifespan. The rubber pad on your eyelash curler should be replaced every three to six months. Over time, the rubber degrades, becomes sticky, or develops small cracks.
When this happens, the pad can no longer provide a smooth surface for the lashes to press against, leading to uneven pressure and potential damage. By keeping your tools in top condition and maintaining a consistent, gentle routine, you can ensure that your lashes look their best for years to come.
Frequently Asked Questions
Is it ever okay to curl lashes after applying mascara?
It is strongly discouraged. Curling after mascara can cause the lashes to stick to the curler, leading to breakage or the removal of the product. It also creates messy, clumpy lashes and introduces bacteria to your tools. Stick to curling on clean, bare lashes for the best results.
How long should I hold the eyelash curler?
For the most effective lift, gently squeeze the curler at the base of your lashes for five to ten seconds. Avoid crimping or tugging, as this can damage the hair. A steady, firm pressure is sufficient to create a beautiful, natural-looking curl that lasts throughout the day.
What if my lashes still won’t hold a curl?
If your lashes lose their shape quickly, try switching to a waterproof or “curl-holding” mascara formula. These contain fast-drying polymers that lock the curl in place. Also, ensure your eyelash curler fits your eye shape correctly and replace the rubber pad if it has become worn or cracked.
Does heating the curler actually help?
Yes, using a heated curler or gently warming a standard metal curler with a hairdryer can help set the curl more effectively. However, always ensure the curler is warm, not hot, to avoid burning your eyelid. Never apply heat to lashes that are already coated in mascara to prevent melting.