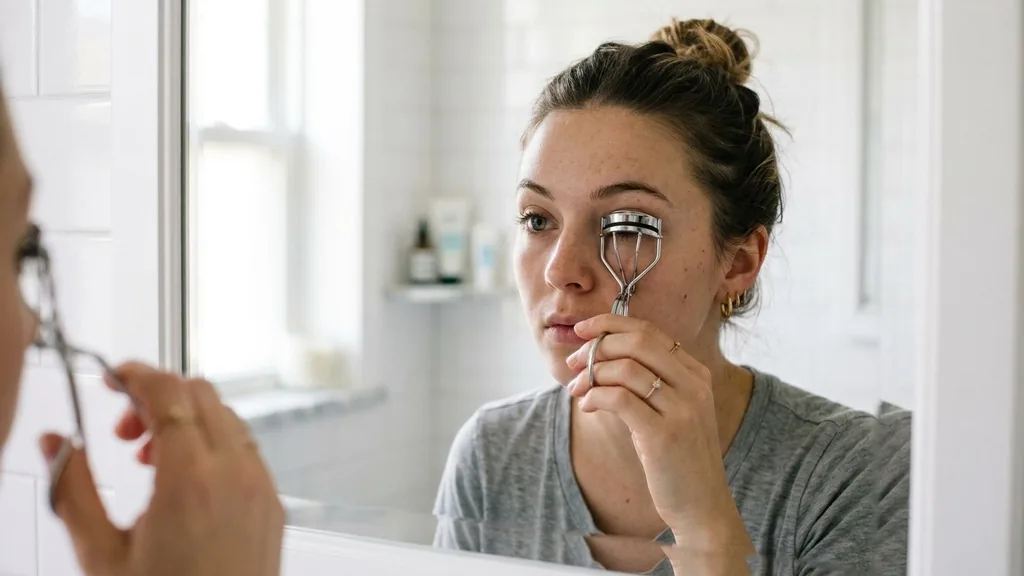
Achieving the perfect wide-eyed look often comes down to the subtle details in your beauty routine, and few tools are as debated as the humble eyelash curler. You might find yourself questioning the order of operations every morning: do you use an eyelash curler before or after mascara? The consensus among professional makeup artists is overwhelmingly in favor of curling your lashes on clean, product-free hair.
Applying pressure to coated lashes can lead to breakage, clumping, and the dreaded “L-shape” crimp that ruins a smooth, lifted appearance. By mastering the sequence and technique of your eye makeup application, you can significantly enhance the natural shape of your eyes and ensure your lashes remain healthy and voluminous throughout the day.
Why Pre-Mascara Curling is the Industry Standard
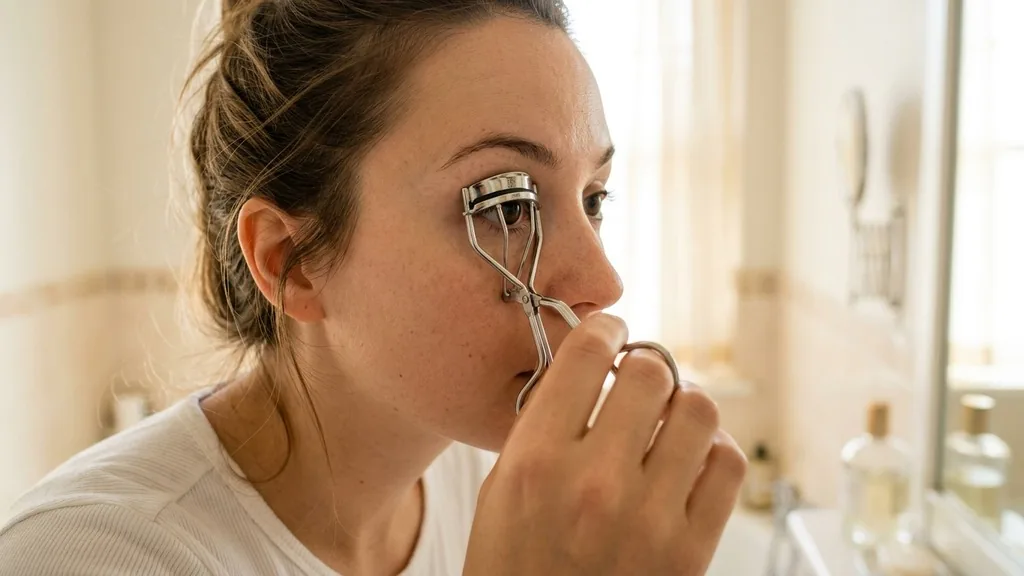
The primary reason experts advise using an eyelash curler before applying any product is to preserve the structural integrity of your lashes. Eyelashes are delicate, and when they are coated in mascara, they become stiff and brittle.
If you attempt to clamp down on them with a metal tool while they are “set” in a formula, the lashes are prone to snapping off at the base. This is not just a minor aesthetic concern; repeated breakage can lead to sparse, uneven lash lines that take weeks or even months to recover.
Furthermore, the mechanical action of the curler is designed to work on the natural flexibility of the hair. When you curl lashes while they are dry and clean, the tool can grip the hair evenly, creating a gentle, sweeping upward curve rather than a harsh, unnatural bend. Using an eyelash curler on bare lashes allows you to get as close to the root as possible without the risk of the tool sticking to the tacky mascara, which often happens if you try to curl after the product has been applied.
By establishing that base lift first, you provide a stable foundation for your mascara to lock that shape in place. Think of the curler as the primer and the mascara as the setting agent; you wouldn’t set your hair with hairspray before using a curling iron, and the same logic applies to your eyes.
The Risks of Curling After Mascara Application
While it might seem intuitive to “touch up” your curl after your mascara has dried to boost the volume, this practice is frequently cited as the number one cause of lash damage. When mascara dries, it forms a hard, resin-like film around each lash. This film is designed to provide weight and color, but it is not flexible.
When you apply pressure with a metal curler to this hardened surface, you are forcing the lash to bend at a sharp angle. This often results in a crimped look that is difficult to fix without washing your makeup off entirely.
Beyond the aesthetic disaster of a crimp, there is the issue of hygiene and tool maintenance. Mascara is a cosmetic product designed to adhere to surfaces. When you use your lash curler on top of wet or even semi-dry mascara, the residue transfers directly onto the rubber pad and the metal frame of the tool.
Over time, this buildup becomes a breeding ground for bacteria, which you are then pressing directly against your sensitive eye area every single morning. If you find yourself in a situation where you feel your lashes have “dropped” and you absolutely must re-curl, you are essentially gambling with the health of your lashes. Keeping your tools clean is essential, but preventing the transfer of product in the first place is far more effective for long-term lash health.
Optimizing Your Technique for Maximum Lift
To achieve the best results, your technique must be as precise as the timing. Start by positioning the open eyelash curler at the base of your upper lashes, ensuring that you are as close to the eyelid as possible without pinching the skin.
Once positioned, gently pulse the curler—do not squeeze with all your might—for about five to ten seconds. This pulsing motion is key to creating a natural, sweeping lift rather than a jagged bend.
After the initial press at the roots, move the curler slightly upward toward the middle of the lash length and apply a lighter, shorter pulse. This creates a graduated curve that mimics the natural growth pattern of healthy, long lashes. Once you have completed this on both eyes, follow up immediately with your mascara.
Applying the mascara while the lashes are still “warmed up” from the curling process helps to lock the shape in place. Many makeup artists suggest using a waterproof formula if your lashes are naturally straight or stubborn, as the wax content in waterproof mascara is superior at holding a curl compared to water-based formulas. You can learn more about proper eye safety and hygiene by visiting the American Academy of Ophthalmology, which provides extensive resources on maintaining eye health while using cosmetic products.
Comparing Curling Methods: A Practical Breakdown
To help you visualize the differences in approach, it is useful to look at how different timing and techniques affect the final outcome of your eye makeup. The following table illustrates the common results associated with various curling habits.
| Technique | Effect on Lash Health | Aesthetic Outcome | Risk Level |
|---|---|---|---|
| Curling before mascara | High (Maintains strength) | Natural, lifted, smooth | Low |
| Curling after mascara (wet) | Medium (Risk of pulling) | Clumpy, uneven | Moderate |
| Curling after mascara (dry) | Low (High risk of breakage) | Sharp, crimped, brittle | High |
As indicated in the table, the best results are consistently achieved by preparing the lashes before any product is introduced. While it might be tempting to skip the curler or use it as a “quick fix” later in the day, the data supports a disciplined approach. If you find that your lashes simply won’t hold a curl, the issue is likely the formula of your mascara or the condition of your curler’s rubber pad rather than the timing of the curl itself.
Addressing Common Topical Gaps and Misconceptions
A common point of confusion for many beauty enthusiasts is whether heating the eyelash curler is a safe or necessary step. Many people believe that warming the metal with a hairdryer will “set” the curl better, similar to how a curling iron works on hair. While this can provide a more dramatic, long-lasting lift, it comes with significant risks.
The skin around the eyes is the thinnest on the body, and it is incredibly easy to accidentally burn the eyelid if the curler is too hot. If you choose to use heat, always test the temperature on the back of your hand first. However, for most individuals, a high-quality curler used on clean, dry lashes is sufficient without the need for external heat.
Another common gap in knowledge is the importance of the rubber pad. Many people use the same curler for years without ever replacing the silicone or rubber insert. Over time, this pad becomes cracked, flattened, or loses its elasticity.
A damaged pad will not provide the necessary cushioning to create a smooth curve, leading to the very crimping issues people try to avoid. You should aim to replace the rubber insert every three months, or as soon as you notice any signs of wear.
Keeping the metal frame clean with a quick wipe of rubbing alcohol also ensures that you aren’t introducing old, flaky mascara into your eyes, which can lead to irritation or infections. By focusing on the maintenance of the tool, you negate the need to use it in risky ways, such as applying it after mascara application.
Essential Tips for Maintaining Lash Health and Shape
Beyond the act of curling, the overall health of your eyelashes plays a massive role in how well they hold a shape. Lashes that are dehydrated or brittle will never hold a curl as well as healthy, conditioned ones.
Incorporating a lash serum or a light application of a natural oil, such as castor oil, into your nighttime routine can help improve the flexibility of your lashes. When lashes are well-moisturized, they are less likely to snap under the pressure of a curler and more likely to retain a lifted appearance.
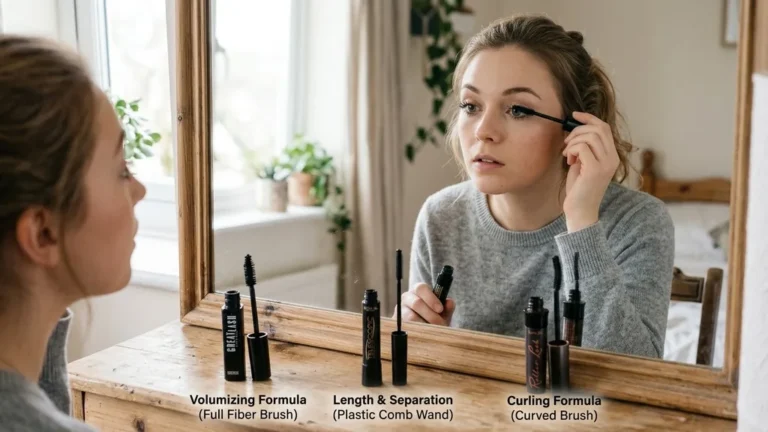
Furthermore, the type of mascara you choose matters. If you prioritize volume, you might be using a heavy, thick formula that weighs the lashes down, causing them to lose their curl almost immediately after application.
If you struggle with this, try using a lighter, lengthening formula at the base of the lashes and applying the thicker, volumizing formula only to the tips. This “zoning” technique ensures that the weight is distributed properly, allowing the root-lift you achieved with your curler to remain intact.
- Always clean your eyelash curler with an alcohol wipe at least once a week to prevent bacteria buildup.
- Replace the rubber padding on your curler every three months to ensure consistent, gentle pressure.
- Apply mascara using a “wiggling” motion at the base to build volume without weighing down the ends.
- Use a waterproof mascara if you have naturally straight lashes that struggle to hold a curl.
- Ensure your lashes are completely dry before curling to avoid unwanted stickiness and potential breakage.
- Invest in a high-quality curler that fits the specific curvature of your eye shape for more uniform results.
By following these guidelines, you move away from the “trial and error” approach that leads to damaged lashes and inconsistent looks. The goal is to create a routine that is sustainable, healthy, and effective. When you prioritize the health of your lashes by curling before mascara, you are choosing long-term beauty over short-term shortcuts.
Frequently Asked Questions
Is it ever safe to use an eyelash curler after mascara?
It is generally discouraged. If you must, wait until the mascara is 100% dry and use a very light touch. However, this significantly increases the risk of lash breakage and creates a harsh, unnatural crimp rather than a smooth, lifted curve.
How do I know if my eyelash curler is the right shape for my eyes?
A good curler should span the entire width of your lash line comfortably. If it is too flat or too curved for your eye, you will miss lashes at the corners. Test a few different brands to find one that aligns with your specific eye contour.
What should I do if my lashes won’t hold a curl?
If your lashes fall flat, consider switching to a waterproof mascara, as the wax-based formula holds a curl better than water-based ones. Also, ensure your curler’s rubber pad is fresh and that you are using a pulsing motion to set the shape.
How often should I replace my eyelash curler?
While the metal frame can last for several years with proper care, the rubber or silicone insert should be replaced every three months. If the metal frame becomes bent or the hinge becomes loose, it is time to invest in a new tool entirely.