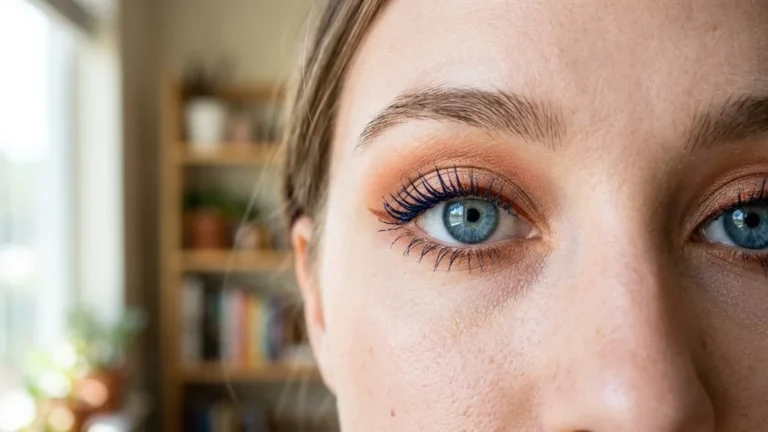

How to apply mascara well comes down to more than brushing black pigment over your lashes. The right technique can create length, volume, lift, or a soft natural mascara look without clumps, smudging, or flakes. Whether you are a beginner using mascara for the first time or refining your everyday eye makeup routine, a few controlled steps make a noticeable difference.
Start with clean, dry lashes, choose a suitable mascara formula, and work from the lash line outward. It sounds simple, but the small details matter.
Prepare Your Lashes and Choose the Right Formula
The best application begins before the mascara wand touches your eye. Clean lashes give the formula a more even surface, while the right product helps you achieve the finish you actually want.
Remove old eye makeup with micellar water or a gentle makeup remover, then allow the lashes to dry fully. Oil left on the lashes can weaken adhesion and encourage transfer onto the eyelid, so this quick preparation step is worth the extra minute.
If you use an eyelash curler, use it before mascara, never after the product has dried. Curling coated lashes can make them stiff and brittle, and it may pull on the lash hairs. Place the curler close to, but not directly on, the lash line, then press gently.
A light curl at the base usually looks more natural than repeatedly clamping the same spot. People with straight lashes often find this step especially helpful, although mascara can still be applied effectively without a curler.
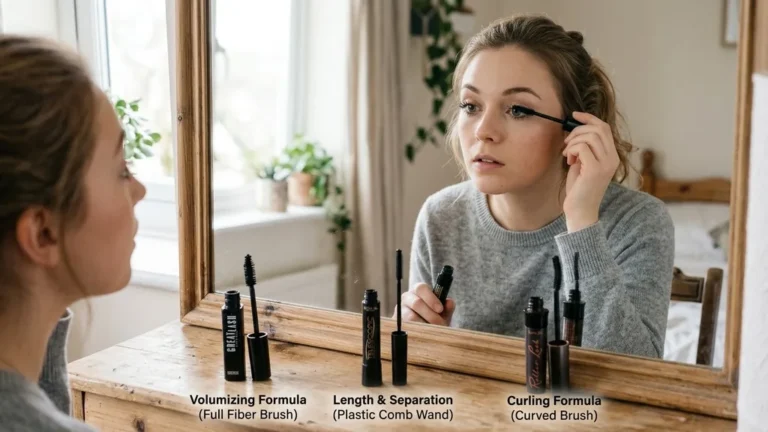
Match the mascara formula to your goal. A lengthening mascara generally uses a thinner texture and helps extend the appearance of each lash. A volumizing mascara deposits more product, making the lash line look denser.
Curling mascara may help hold an upward shape, while waterproof mascara resists moisture and is useful for humid weather, tears, or long events. However, waterproof formulas can be harder to remove, so they require patient cleansing rather than aggressive rubbing.
| Desired effect | Useful product choice | Application focus |
|---|---|---|
| More length | Lengthening mascara | Stretch from roots to tips with a light coat |
| More fullness | Volumizing mascara | Concentrate product at the lash line |
| Lift and curve | Curling mascara with an eyelash curler | Hold the lashes upward while the coat sets |
| Long wear | Waterproof mascara or tubing mascara | Use careful removal at the end of the day |
| Soft everyday definition | Lightweight or natural mascara | Apply one thin, controlled coat |
A mascara primer can add separation, grip, or visible fullness before color is applied, but it is optional. If you use one, apply a thin layer and let it become slightly tacky rather than completely dry. Too much primer can create a heavy texture.
Also check the mascara expiration date and replace old eye products regularly. A dry, changed-smelling, or unusually thick product is not worth trying to rescue with water or oil. For broader advice on keeping products near the eyes safe, consult the FDA’s eye cosmetic safety information.
How to Apply Mascara Step by Step
The most reliable method is a controlled root-to-tip application: place the brush at the base of the lashes, move it slightly from side to side, and then sweep upward. This technique coats the roots first, where definition and lift begin.
Do not pump the mascara wand repeatedly inside the tube, because that pushes air into the container and can dry the product faster. Instead, twist the wand out slowly and remove excess formula from the tip against the tube opening.
Coat the upper lashes
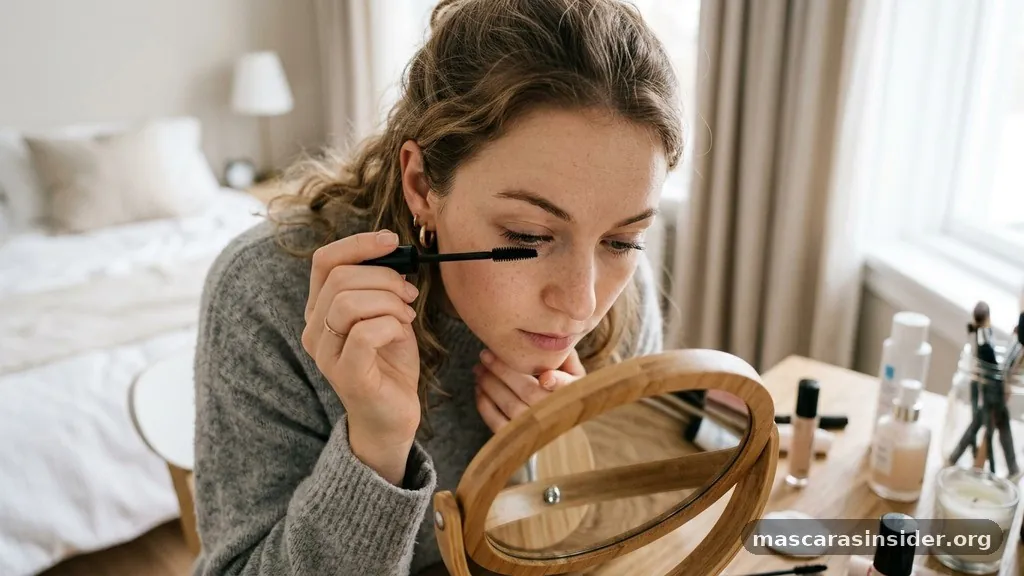
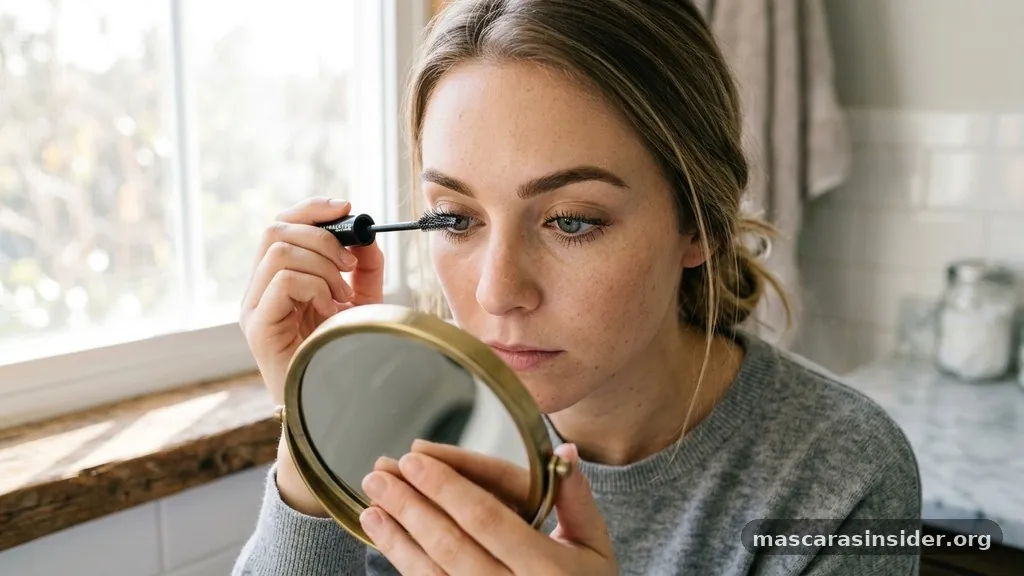
Look slightly downward into a mirror while keeping your face relaxed. Set the mascara wand at the base of the upper lashes, as close to the lash line as comfortable without pressing into the skin. Use a small zigzag motion or gently wiggle the wand for one or two seconds.
Then pull the brush upward toward the tips. This wiggling the wand technique distributes product between neighboring hairs and creates better lash separation than dragging a loaded brush straight through.
Work in sections if your lashes are thick or if the brush is large. Start at the outer corner, move to the center, and finish at the inner corner. Turn the wand vertically for the shortest inner lashes, using the tip with a light touch.
This prevents a large brush from stamping mascara onto the nose-side corner of the eyelid. Keep the coat thin at first. It is easier to build intensity than to fix a thick, wet layer that has already stuck lashes together.
Apply a second coat with control
For more definition, apply a second coat while the first is still slightly flexible. Waiting too long can make the first layer hard, and a new coat may sit on top in uneven flakes. Use less product than you used for the first application, focusing on the roots and outer lashes.
Most people need one to two layers for an everyday result. More layers can increase drama, but they also raise the risk of clumping, heaviness, and flaking.
After each eye, inspect the lashes from the front and side. If two or three hairs have joined, separate them immediately with a clean spoolie or lash comb while the mascara remains damp. A disposable spoolie is particularly useful because it removes excess product without adding another formula.
Never share a mascara wand or use a dirty tool near the eye. Small hygiene habits are not glamorous, perhaps, but they prevent avoidable irritation.
Finish the lower lashes
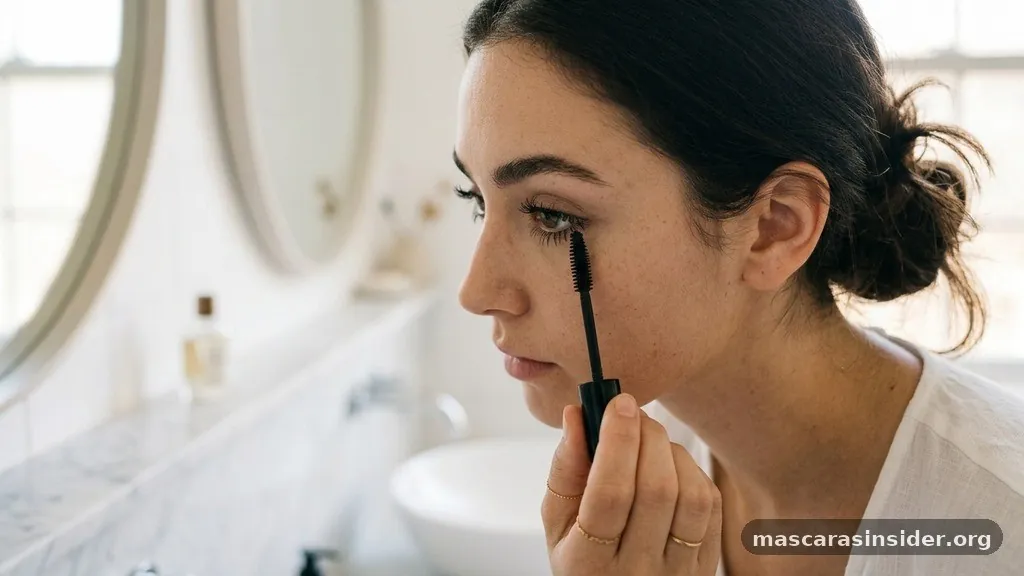
Apply mascara to the lower lashes last, using the tip of the wand or a smaller brush. Hold the wand vertically and touch each lash lightly instead of sweeping a full horizontal brush across the lower lash line.
This creates definition without making the eyes look weighed down. If lower-lash mascara often transfers, use a tubing mascara or a water-resistant formula, and keep the application especially thin.
- Use the wand tip for inner-corner and lower lashes.
- Keep the first coat light and build slowly.
- Wiggle at the roots, then sweep toward the tips.
- Separate lashes before the product fully dries.
- Allow the finished coat to set before blinking forcefully or rubbing the eyes.
Prevent Clumps, Smudging, Flaking, and Transfer
Clumps usually occur because too much product is applied, the brush carries a large excess, or several coats are added after the previous layer has dried. To create clump-free lashes, wipe excess mascara from one side of the wand before starting. This does not mean scraping the brush aggressively; simply use the tube opening to control the amount.
A fresh formula should glide through the lashes. If it has become stringy or pasty, technique alone may not solve the problem.
Another common cause is repeatedly coating the same section without separating it. Apply one complete pass, check the result, and add product only where needed. For example, the outer third may need extra length, while the inner lashes already look defined.
Targeted mascara layering creates a cleaner finish than adding a heavy third coat everywhere. A lash comb can help remove small joins, but use it carefully and keep the teeth away from the eyeball.
Smudging and transfer often happen when wet mascara touches the upper eyelid or the skin beneath the lower lashes. Let the product dry before applying additional eye makeup around it.
If your eyelids are oily, keep skincare and cream products away from the immediate lash roots, or lightly set the surrounding area with a suitable powder. Do not keep blinking hard while the mascara is wet, because the lashes can print onto the lid.
Flaking may signal an old formula, too many layers, or a product that does not suit your lashes. Waterproof mascara can reduce moisture-related smearing, but it may feel less flexible. Tubing mascara forms removable tube-like coatings around individual lashes and can be a useful option for people who experience flakes or under-eye transfer.
Still, performance differs by person. Test the product during a normal day before relying on it for a long occasion.
Fix mistakes without ruining the rest of your makeup
If mascara marks the eyelid, do not wipe it while wet. Wait until the spot dries, then lift it away with a dry cotton swab or a small clean brush. Wet removal often spreads the pigment into foundation or eyeshadow.
For a clump, use a clean spoolie and comb outward gently. If the lashes become overloaded, a cotton swab lightly dampened with micellar water can remove excess at the base, though you may need to touch up nearby eye makeup afterward.
Adapt the Technique for Different Lash Looks
The ideal method changes according to the look you want. For a natural mascara look, choose a lightweight formula, wipe off excess, and apply one thin coat mainly to the upper lashes.
Brown mascara can appear softer than black on fair coloring or during daytime, but black creates stronger contrast. Keep the inner corners delicate and focus a little more definition on the outer half for an understated lifted effect.
For length, use a lengthening mascara and concentrate on stretching the lashes from the root through the tip. Do not repeatedly load the ends, since heavy tips can make the lashes point downward.
A short zigzag at the base followed by a clean upward sweep gives the visual impression of longer, more separated lashes. If the tips already look coated, stop there; extra product rarely adds useful length.
For volume, a volumizing mascara works best when the brush reaches the lash line. Wiggle slowly at the roots, pause briefly, and pull upward. This deposits more pigment where the lashes appear thickest.
Use a second coat mainly at the roots and outer lashes to avoid a stiff, spidery finish. If your lashes are sparse, mascara cannot physically add hairs, but it can make the existing lash line look darker and fuller.
For a lifted, open-eye effect, curl first and use a curling mascara afterward. Apply the product while directing the lashes slightly outward at the outer corner.
On the lower lashes, use a minimal amount so the upper lashes remain the visual focus. You can also create a more defined evening appearance with black mascara and two controlled coats, but avoid building until the hairs become hard and stuck together.
Applying mascara without an eyelash curler
You can apply mascara successfully without a curler by placing the wand firmly at the roots and lifting upward as the formula sets. Hold the brush against the base for a moment, then sweep in a slightly outward direction.
A curling mascara may support this shape, but the result depends on the natural direction and strength of your lashes. Keep the coats light, because excess weight can pull straight lashes downward.
Removal, Hygiene, and Long-Term Lash Care
Remove mascara every night, including waterproof and tubing formulas. Soak a cotton pad with micellar water or an appropriate eye makeup remover, hold it over the closed eye for several seconds, and then glide downward without scrubbing.
Repeat with a clean section of the pad until little or no pigment remains. Gentle removal matters because forceful rubbing can irritate the delicate eye area and pull out lashes.
Waterproof mascara may need an oil-based or bi-phase remover, while tubing mascara often loosens with warm water and gentle pressure, depending on its instructions. Follow the product label rather than tugging when the coating resists removal.
Never use household oils, harsh soaps, or unapproved substances near the eye. If a product causes persistent burning, redness, swelling, or vision changes, stop using it and seek appropriate medical advice.
Keep the mascara tube closed tightly between uses and avoid adding water to revive a drying product. Do not share mascara, even with someone you know well, because the wand contacts the eye area directly.
Replace the product according to its stated period of use and discard it sooner if the smell, texture, or performance changes noticeably. A clean mascara wand can be useful for separating lashes, but it must be clean and intended for cosmetic use.
Good technique is a balance: enough formula to define the hairs, but not so much that the lashes become heavy. Start at the lash line, use a controlled root-to-tip motion, separate as you go, and stop when the result looks even. That simple routine works for everyday makeup, dramatic eye makeup, and nearly every lash type, with a little practice.
Frequently Asked Questions
How many layers of mascara should you wear?
One coat usually creates a soft, natural result, while two coats add more length or volume. Apply the second layer while the first remains slightly flexible, and use less product. Additional layers can increase clumping, flaking, and heaviness, so build gradually rather than applying several thick coats.
How do you apply mascara without clumping?
Remove excess product from the wand, start at the lash roots, and use a small zigzag motion before sweeping upward. Apply thin coats and separate lashes with a clean spoolie or lash comb while the mascara is still damp. Replace old, thickened mascara instead of thinning it with water.
Should mascara be applied before or after other eye makeup?
Apply mascara near the end of your eye makeup routine, after eyeshadow and eyeliner. This prevents powder from settling onto wet lashes and lets you clean up eyeshadow without disturbing the finished coat. Curl lashes before mascara, because using a curler afterward can pull or break coated lashes.
Can you apply mascara to lower lashes without making a mess?
Yes. Hold the wand vertically, use its tip, and touch the lower lashes with a small amount of formula.
Work slowly from the outer corner inward, keeping the coat thin. If transfer is common, choose tubing or water-resistant mascara and allow it to dry fully before blinking normally.
What should you use to remove waterproof mascara?
Use a remover designed for waterproof eye makeup, often a bi-phase or oil-based product, and hold it against the closed eye before wiping gently downward. Avoid rubbing back and forth. Continue until the pigment is gone, then cleanse any remaining residue without tugging the lashes.